/image%2F0703241%2F20140120%2Fob_b8b3b5_blog-header-new2.jpg "nail art - reviews - swatches - nail tutorials")
It's about time, I posted some nail art, right?
I've found some unpublished manicures I did before I had my boy so I'll share them with you..
Unfortunately it's been few years and I don't remember the products I've used....yikes!
So let's play the guessing game haha...
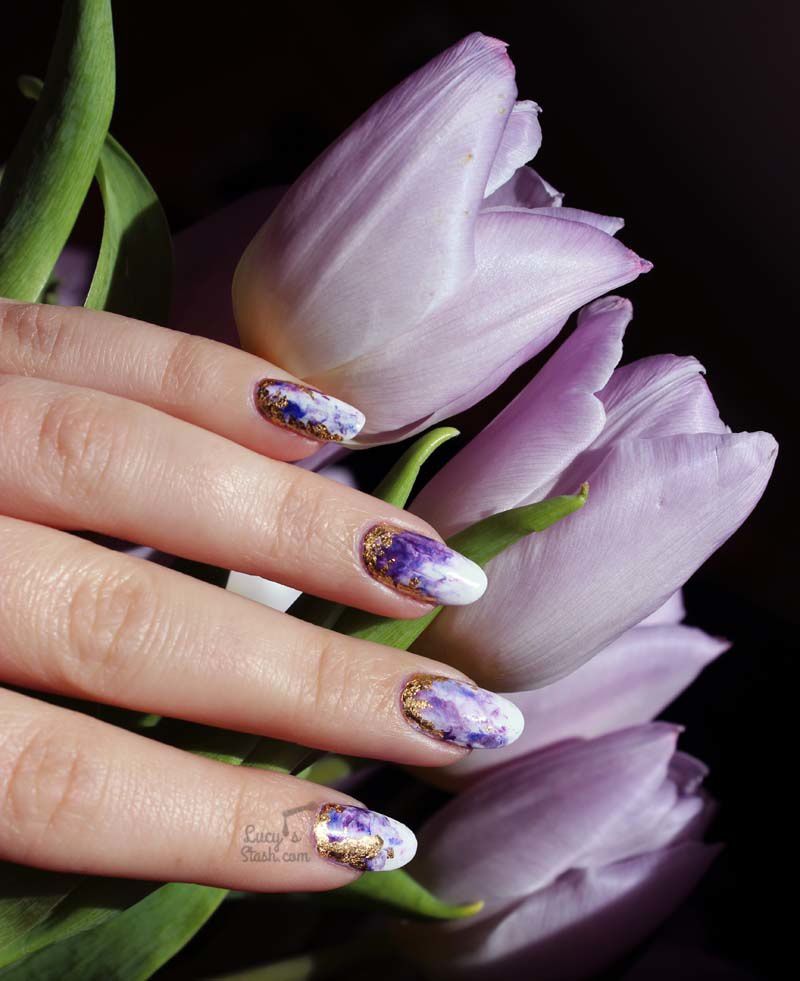
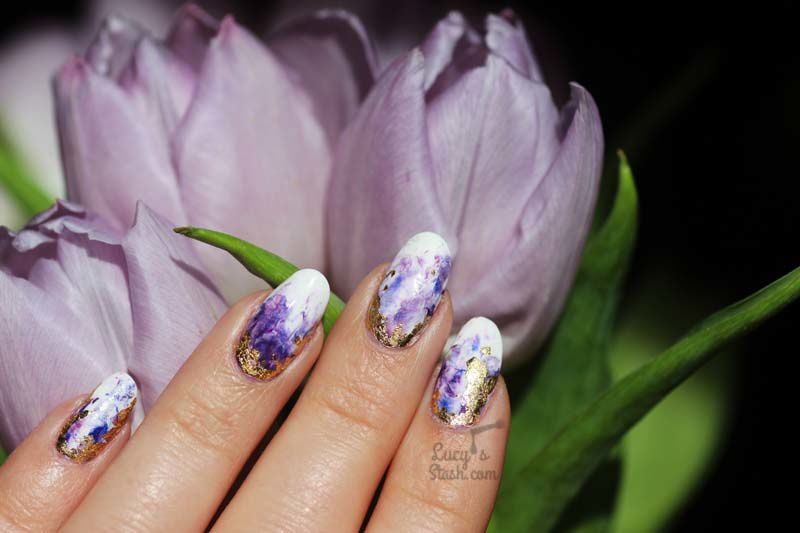
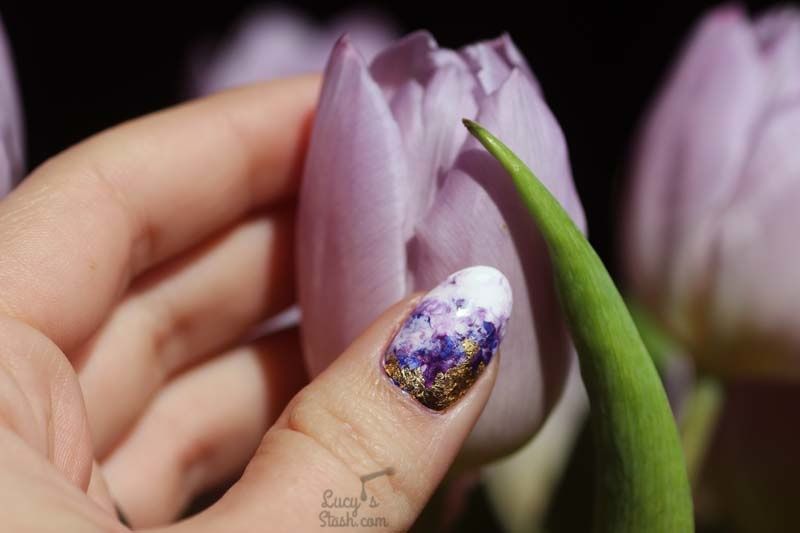
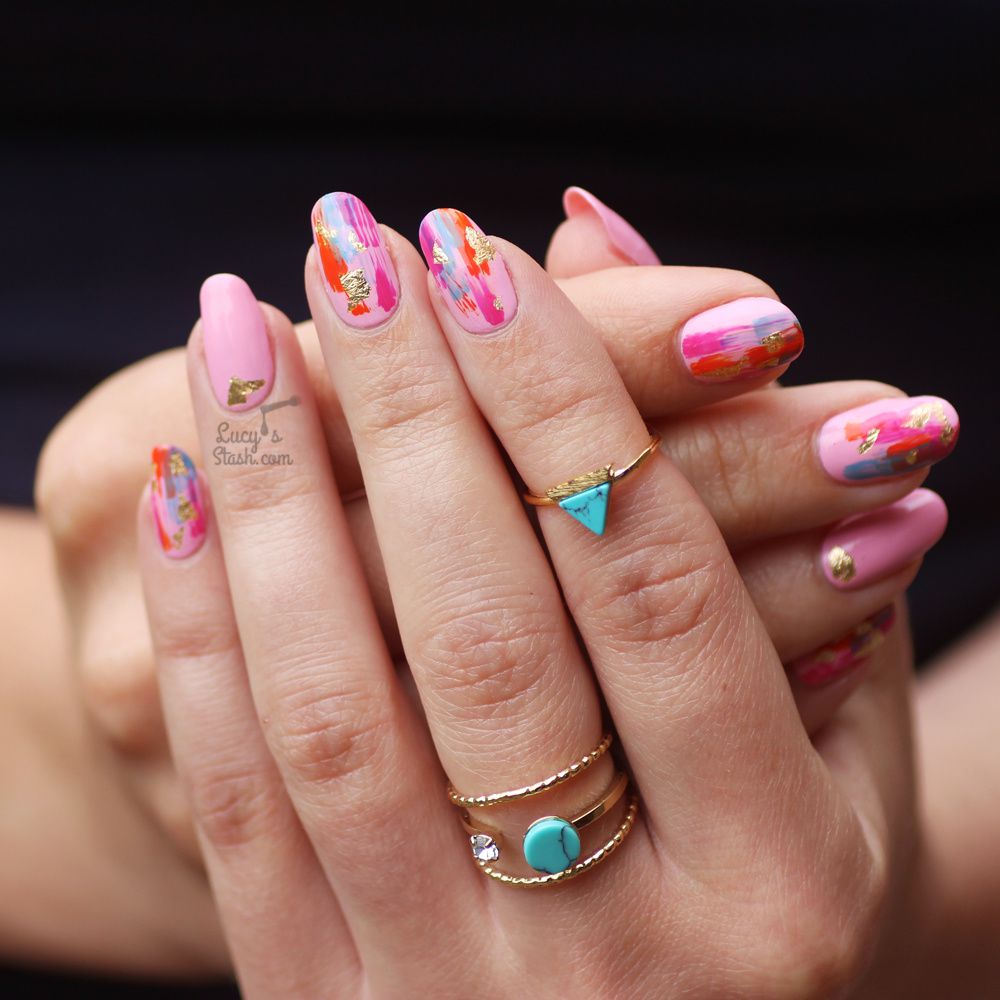
This is the nail art with some cute tulips I've had around...


Hmm...
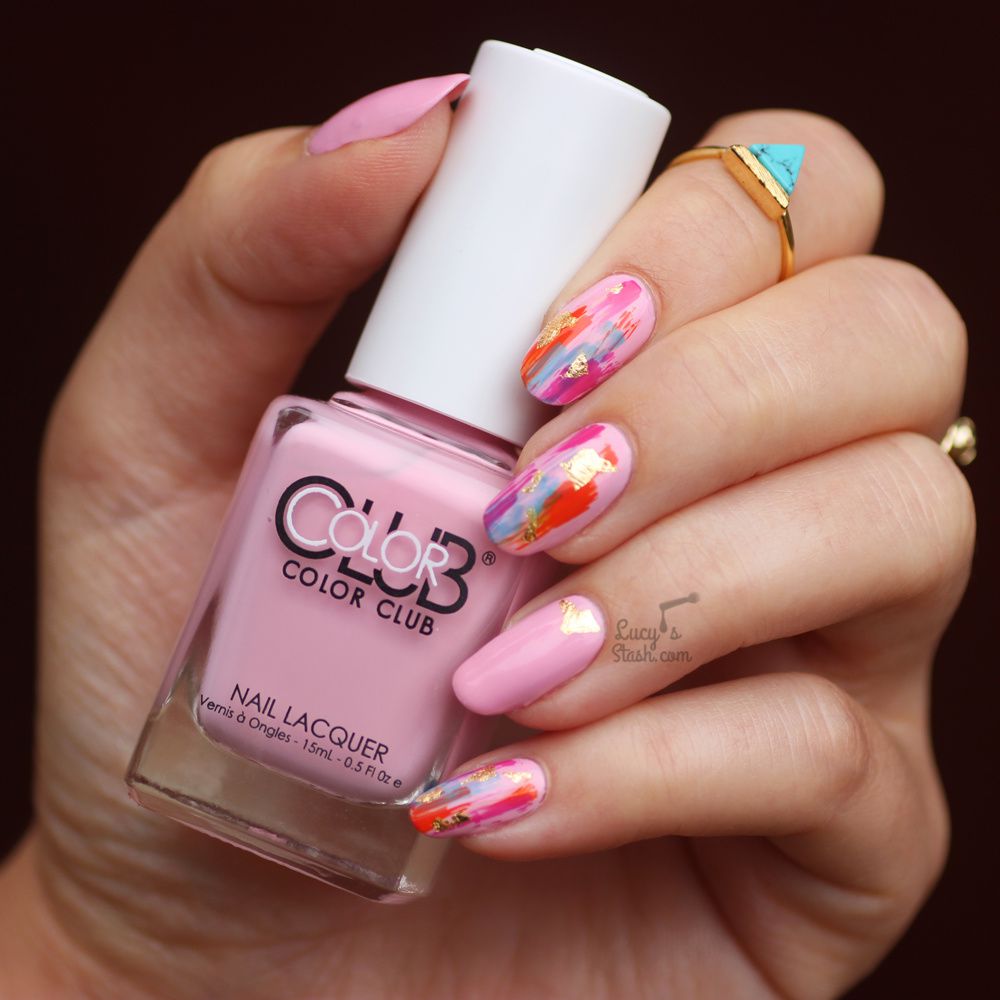
It's definitely nail polish. I'm not holding a bottle so can't tell which brand it is with certainty...it could be a mix of brands.
If I was to recreate it, I'd reach into my Zoya collection or OPI because I definitely have these colours in there.
As for the marbling method, I'm pretty sure it's done like this:
Step 1: Paint your nails with base coat and first coat of white/off white nail polish (optional: you can apply latex barrier around the nail to minimise mess)
Step 2: Paint on the second coat of white/off white and while it's still wet, put small drops of purple and blue nail polish on the wet withe layer
Step 3: Gently press a piece of soft plastic (like a sandwich bag) on the nail polish and lift straight up. This will create the marble effect
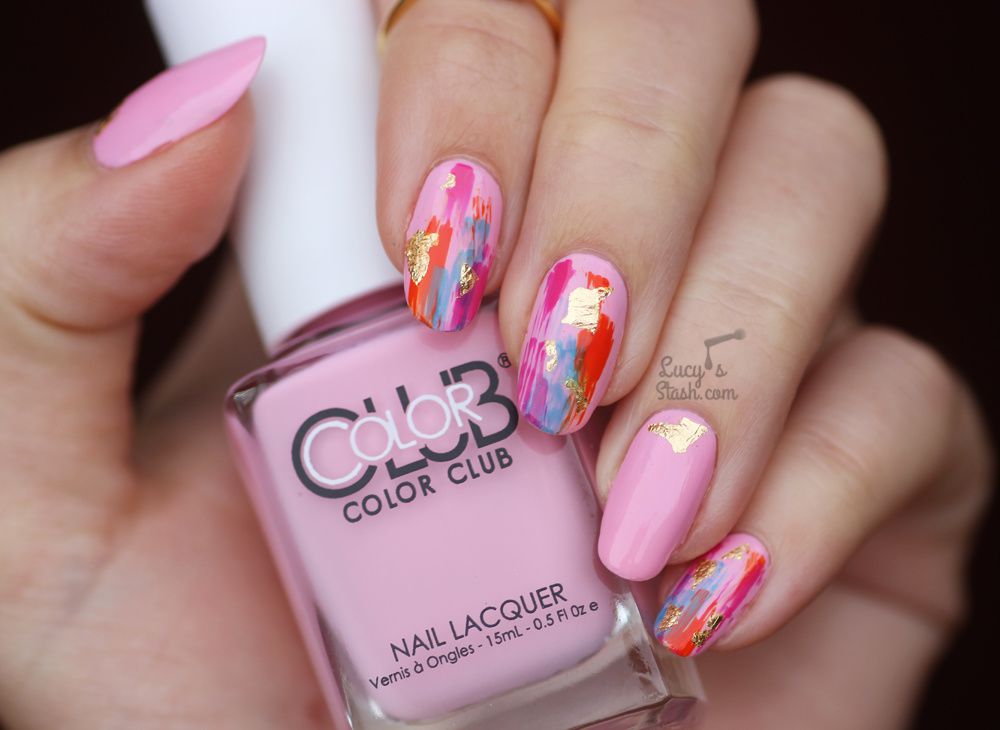
Step 4: Apply a bit of top coat where you want to put the gold flakes
Step 5: Seal the whole manicure with one or two coats of top coat

Well that was fun, let's do that again sometimes! ![]()
Have a lovely day!
Lucie x
/image%2F0703241%2F20201222%2Fob_7b3a98_semilac-my-love-gel-polish-nails-4.jpg) My Snowflake Nails for Christmas 2020 with Semilac...
My Snowflake Nails for Christmas 2020 with Semilac.../image%2F0703241%2F20200814%2Fob_22ce10_lart-supreme-kit-29-2.jpg) REVIEW: LART Supreme Mineral Powder Dipping System...
REVIEW: LART Supreme Mineral Powder Dipping System.../image%2F0703241%2F20170727%2Fob_3240b9_pink-gold-dry-brush-nail-art-4.jpg) The Manicure That (I) Rocked The Scratch Stars Awards...
The Manicure That (I) Rocked The Scratch Stars Awards.../image%2F0703241%2F20170725%2Fob_0d88fc_20399307-10154800093170920-736541443-o.jpg) Scratch Stars Awards 2017 At Tropicana Beach Club London!
Scratch Stars Awards 2017 At Tropicana Beach Club London!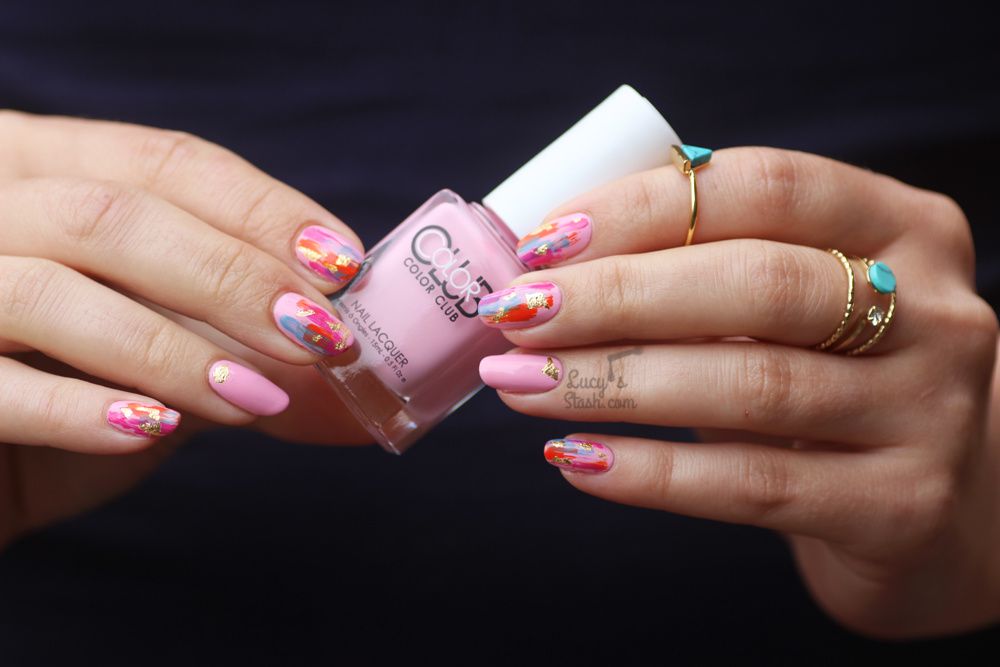

/image%2F0703241%2F20170429%2Fob_799087_gilded-marbled-amethyst-nails-6.jpg) Dress your nails to impress with this marbled amethyst...
Dress your nails to impress with this marbled amethyst...