/image%2F0703241%2F20140120%2Fob_b8b3b5_blog-header-new2.jpg "nail art - reviews - swatches - nail tutorials")
Hello lovelies,
It's Friday and that means ABC Challenge! This is the third week of the challenge so the letter is C! I have chosen the word CARVING to represent this week because the design is actually done by carving. I'll explain later, let's have a look at the nails...
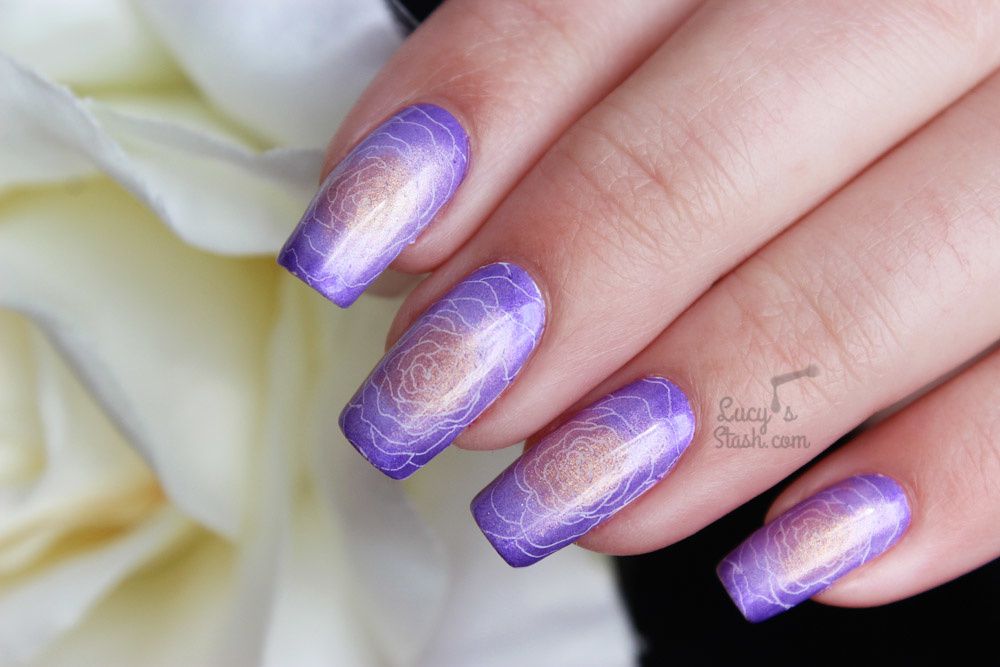
This design is not my original, it is a recreation of Sam Biddle's rose tutorial. Sam has shown this carved out rose design on one of her live Facebook sessions and I loved it so much I had to try it too! It's done using gel polish and Be Creative (Sam Biddle's brand) pigments.
GET THE LOOK
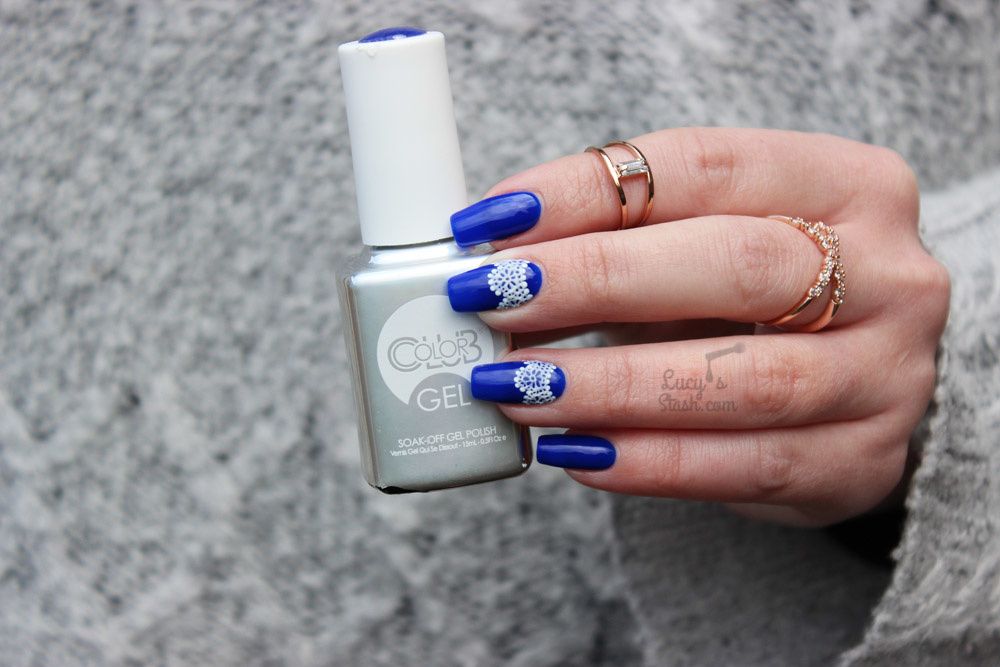
Step 1 - Colour base - do your regular gel polish application - base coat and 1-2 coats of white gel polish. Cure but don't wipe the sticky layer. I've used Color Club Foundation + Primer and French Tip gel polish.
Step 2 - Pigment gradient - using small fluffy brush and Be Creative pigment in Pretty in Pink, dab the pigment into the centre of the nails in a circle pattern. Next, use a Heather Heaven pigment and apply it around the first circle and overlap the pigments a bit so they blend in. Then use the darkest purple pigment (Flip Flops) and cover the rest of the nail. Use a large soft brush (old makeup brushes like blending, blush brush etc. work great for this) to sweep all loose pigment off the nail.
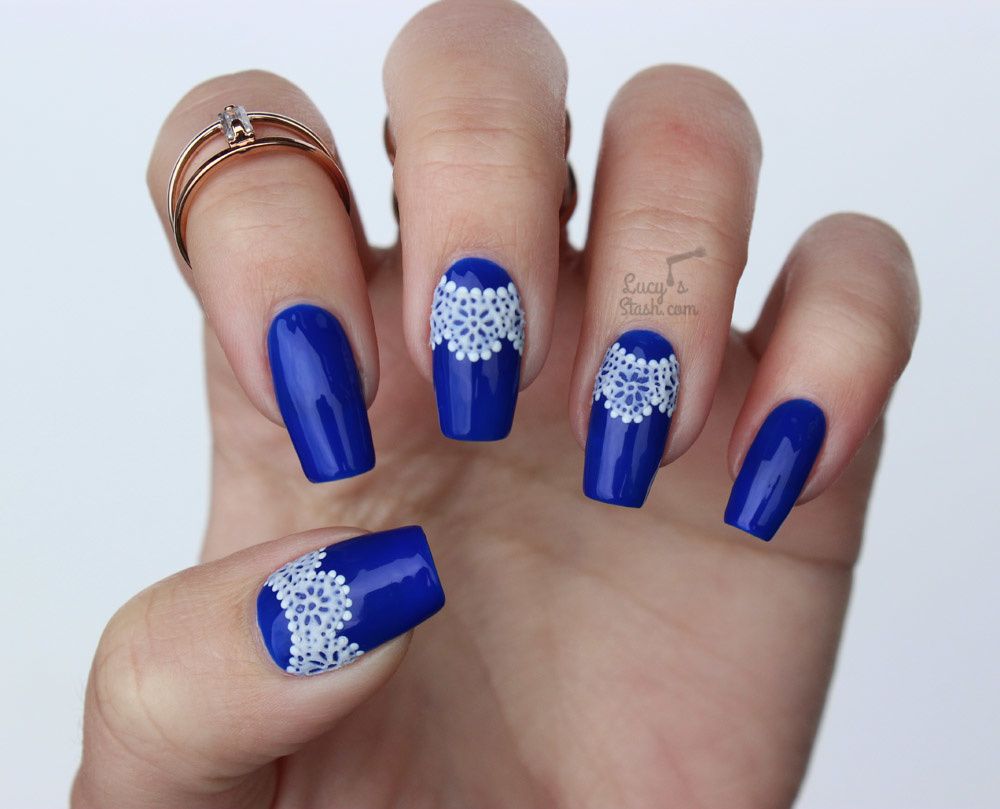
Step 3 - Carving the design - at this point the nails have a cool circular gradient and it's time to add the rose design. Sam recommends using her nail art pen to carve out the rose but I substituted this for pointy dotting tool and it worked too (this dotting tool is a tear shaped, not completely round). I've started in the middle of the nail and carved out the rose petals just as I would draw them on paper. There's no need to use a lot of pressure, the carving is very easy.
Step 4 - Seal the design - use a gel polish topcoat to seal the whole design. Try floating the brush just like with regular topcoat to prevent any of the pigment to transfer on the topcoat brush. I've used Color Club Seal + Shine Top Coat. Wipe off the sticky residue.
Use a discount code STASH15 for 15% off for any Color Club products at Color Club UK (not affiliate)


Pretty easy and beautiful, right? I've applied Color Club Matte-ified Gel Top Coat in the end and the result was quite nice as well but I think I prefer the glossy version that reveals the subtle shimmer of pigments. This would work with other gel polish colours as well but I've used white because it makes the pigments bright and the white carving creates a nice contrast. I like this technique very much and big thanks to Sam Biddle for showing it to us in her live session. You can see the recording and Sam's tutorial HERE.
I hope you've enjoyed today's post and don't forget to check out Sam Biddle's work, she's a great nail artist and educator :) Have a lovely day! Lucie x
Check out what other challenge participants created:
/image%2F0703241%2F20201222%2Fob_7b3a98_semilac-my-love-gel-polish-nails-4.jpg) My Snowflake Nails for Christmas 2020 with Semilac...
My Snowflake Nails for Christmas 2020 with Semilac.../image%2F0703241%2F20200814%2Fob_22ce10_lart-supreme-kit-29-2.jpg) REVIEW: LART Supreme Mineral Powder Dipping System...
REVIEW: LART Supreme Mineral Powder Dipping System.../image%2F0703241%2F20170429%2Fob_799087_gilded-marbled-amethyst-nails-6.jpg) Dress your nails to impress with this marbled amethyst...
Dress your nails to impress with this marbled amethyst.../image%2F0703241%2F20170727%2Fob_3240b9_pink-gold-dry-brush-nail-art-4.jpg) The Manicure That (I) Rocked The Scratch Stars Awards...
The Manicure That (I) Rocked The Scratch Stars Awards...