/image%2F0703241%2F20140120%2Fob_b8b3b5_blog-header-new2.jpg "nail art - reviews - swatches - nail tutorials")
Hello lovelies,
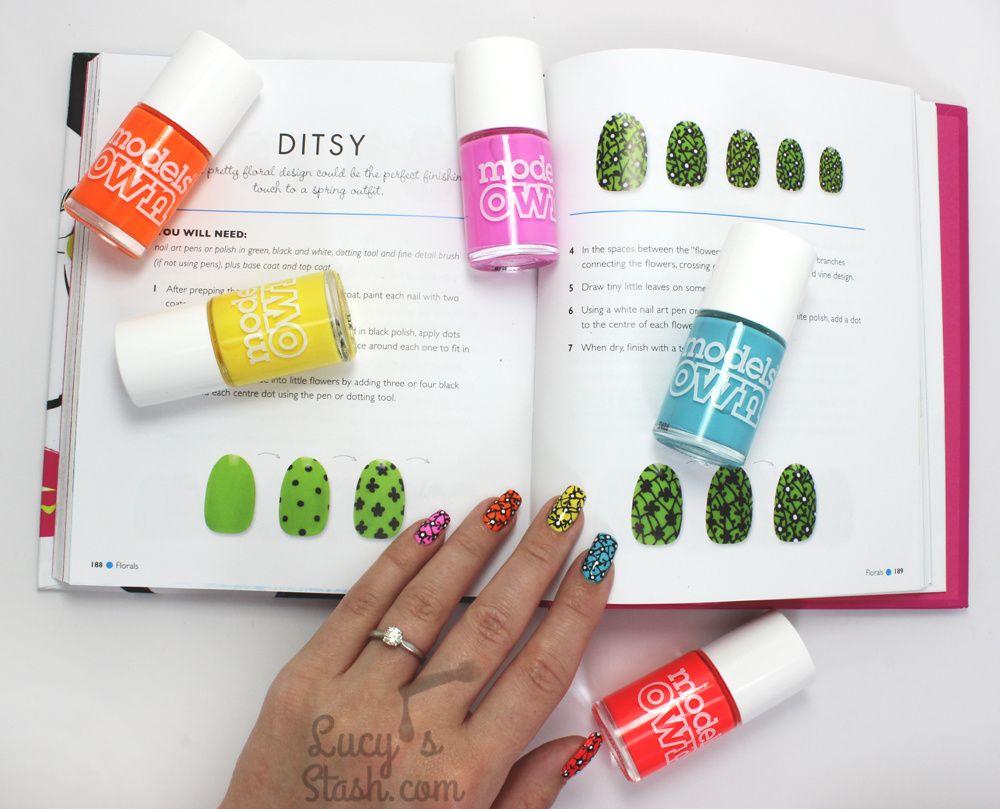
So I'm finally back with nail post and review! I did these nails back in July when I received then brand new nail art book Nail It! by Sophie Harris-Greenslade aka The Illustrated Nail (featured in past monthly favourites). I picked a design from the book called Ditsy and I recreated it following the step by step tutorial in the book to show you that they are totally achievable!
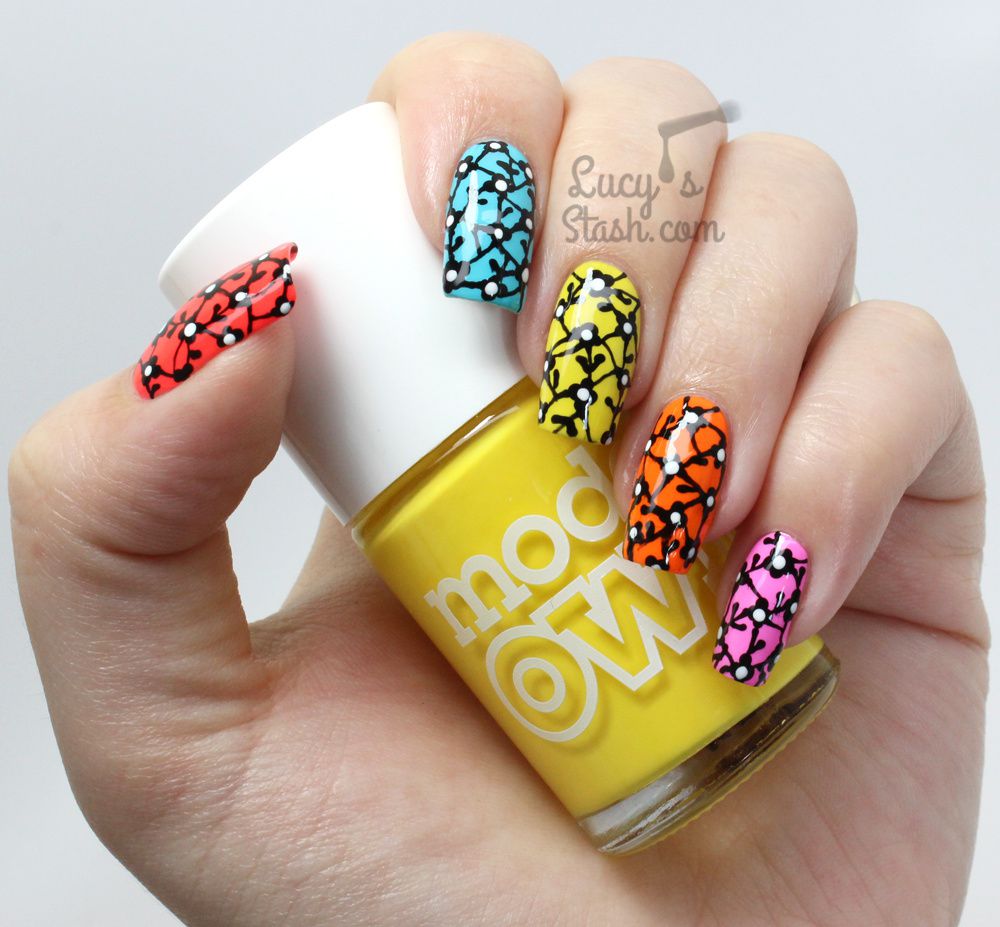
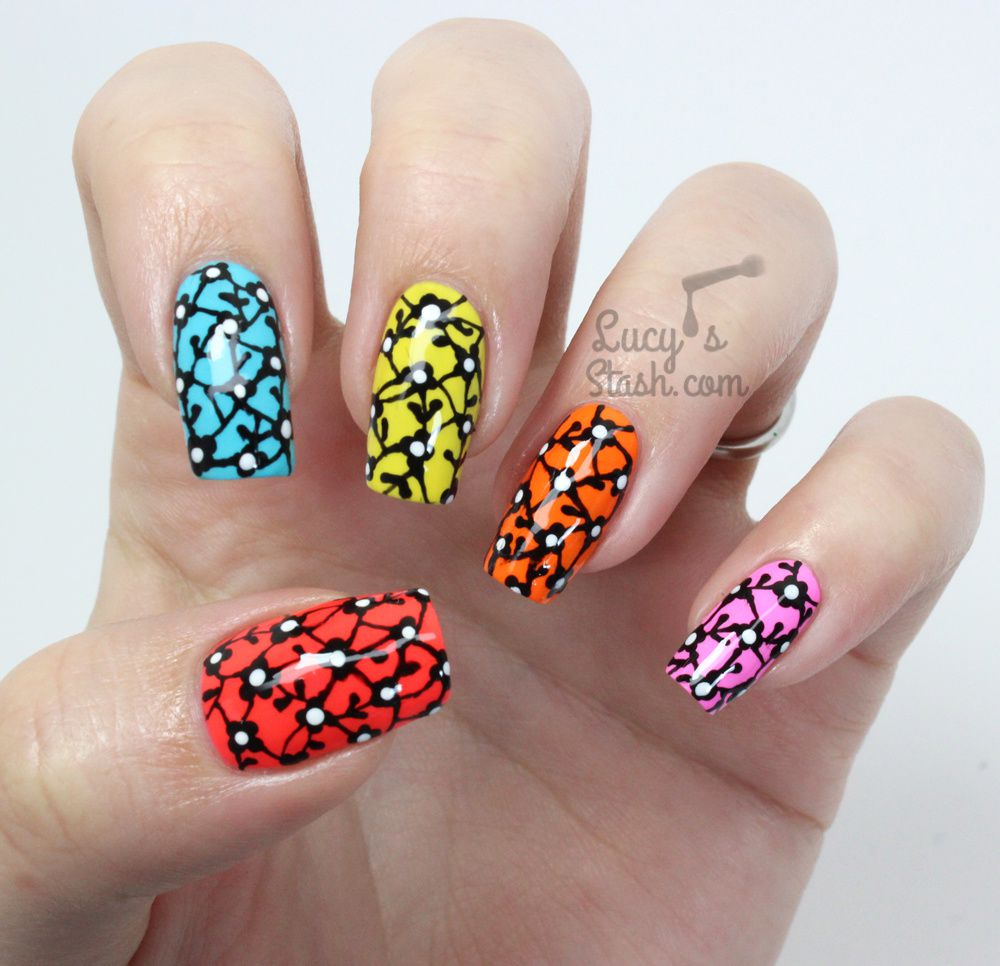
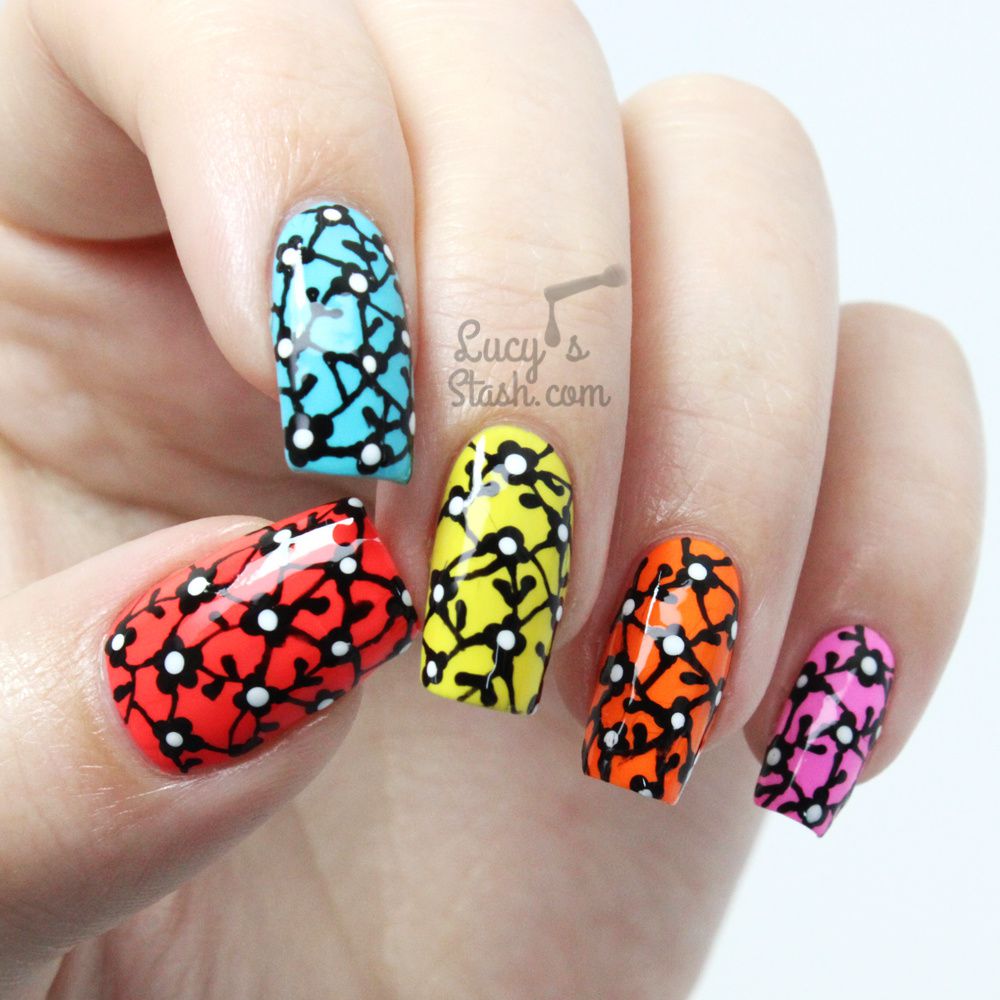

This Ditsy design is pretty simple and easy to do yet it looks like a complicated pattern. I've painted it using Nails Supreme nail art pens (available here) and dotting tools over five new(ish) Models Own polishes. These pretty brights are the new additions to their Polish for Tans collection (which was bit more relevant in July I guess ;). I've used Beach Hut, Turquoise Sea, Sarong Wrap, Cocktail Hour and Malibu Pink shades. Some of theme have a neon element to them and they beautifuly glow under UV light.
And... as the title of this post suggests, I also want to take a closer look at the

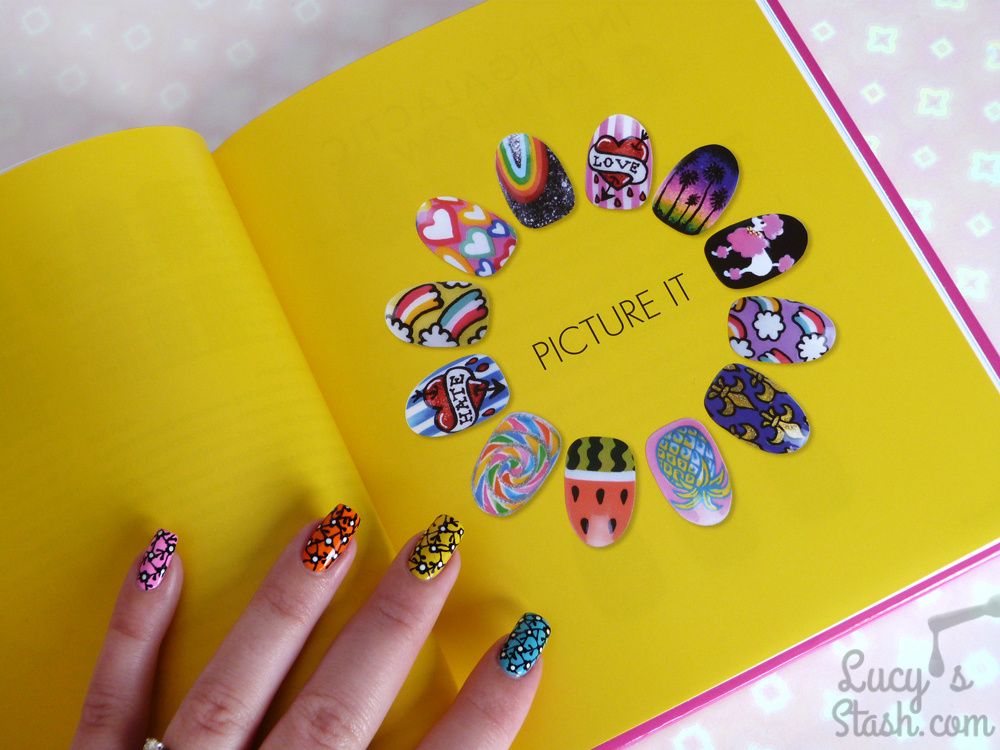

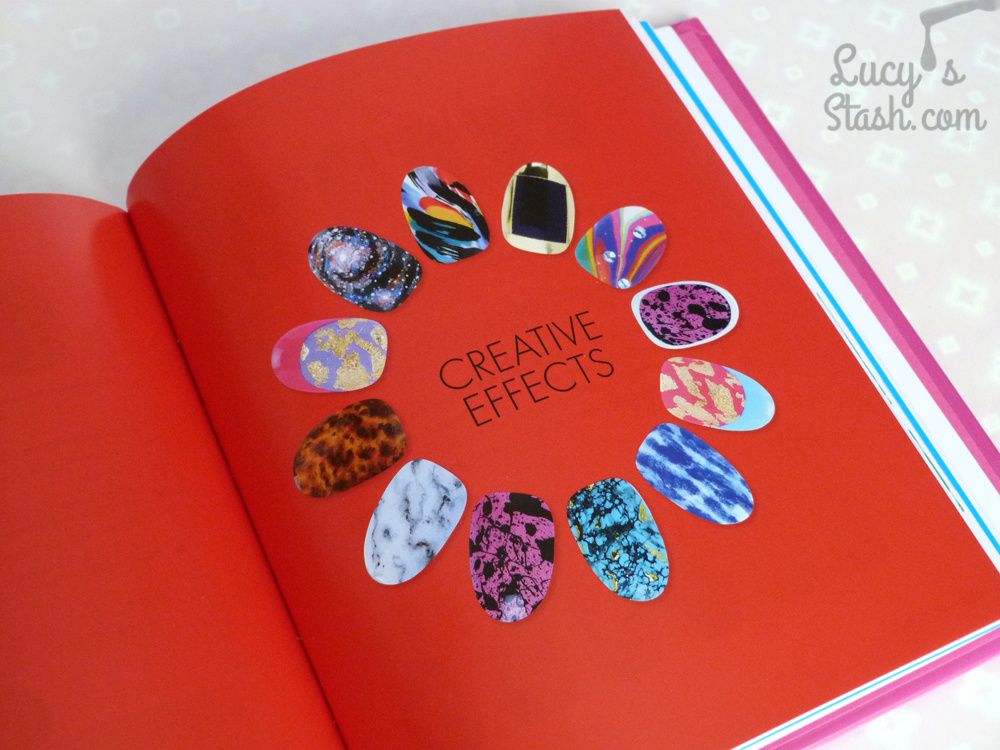
Some of the book chapters (click to enlarge)
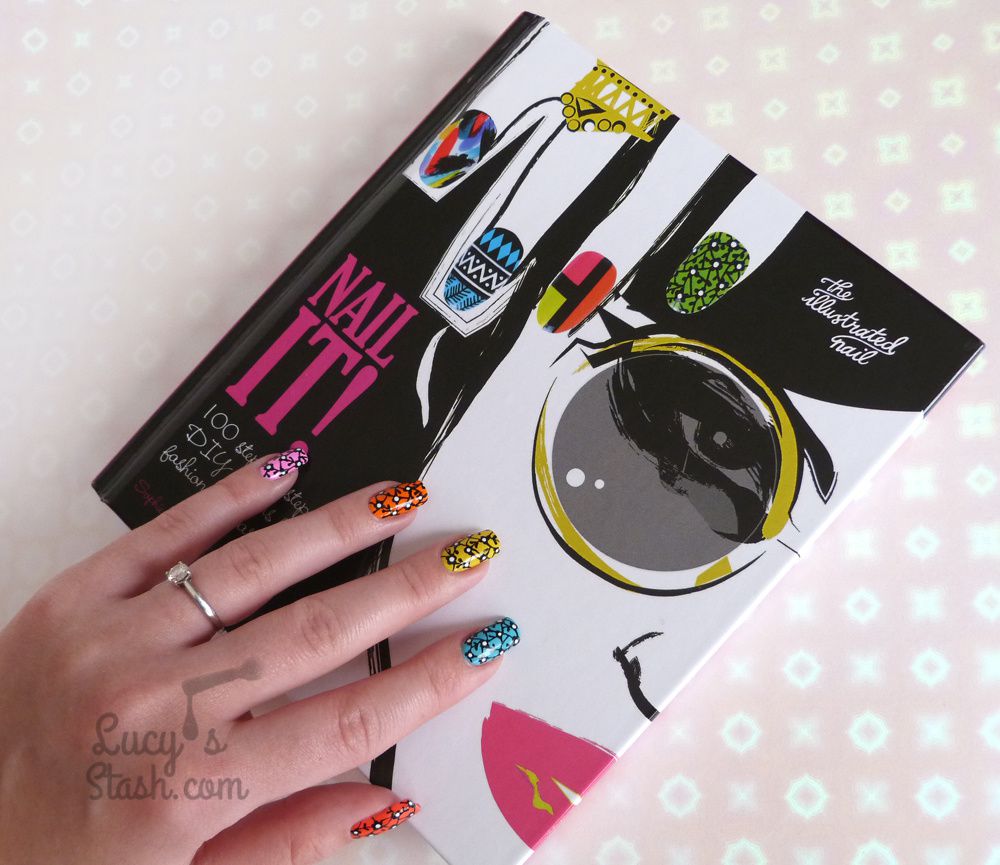
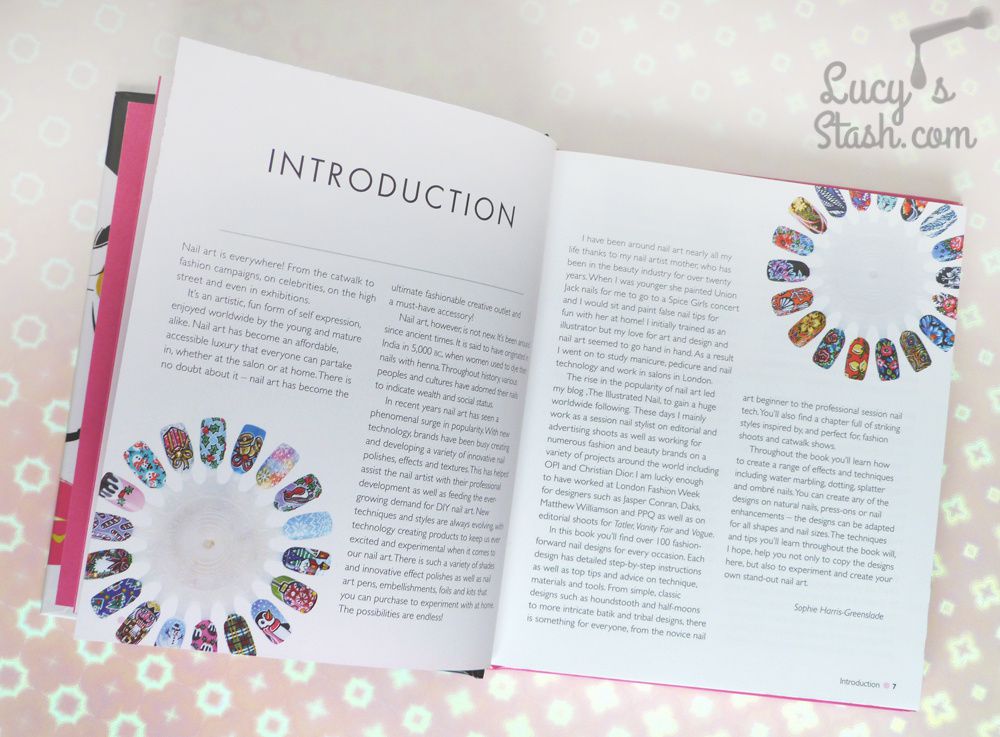
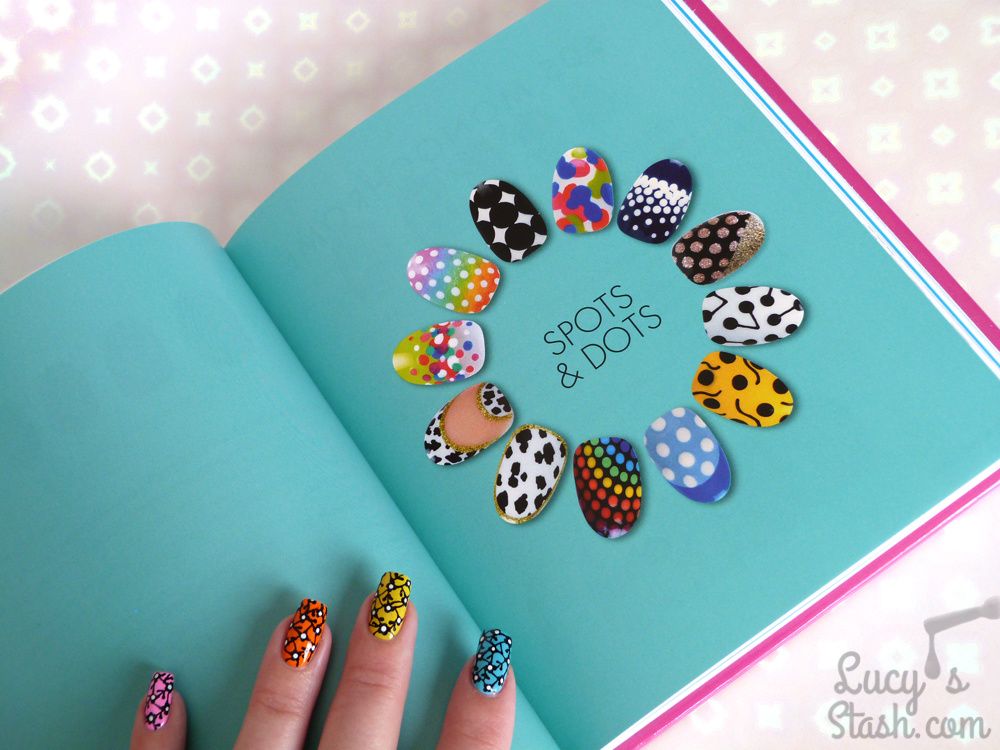
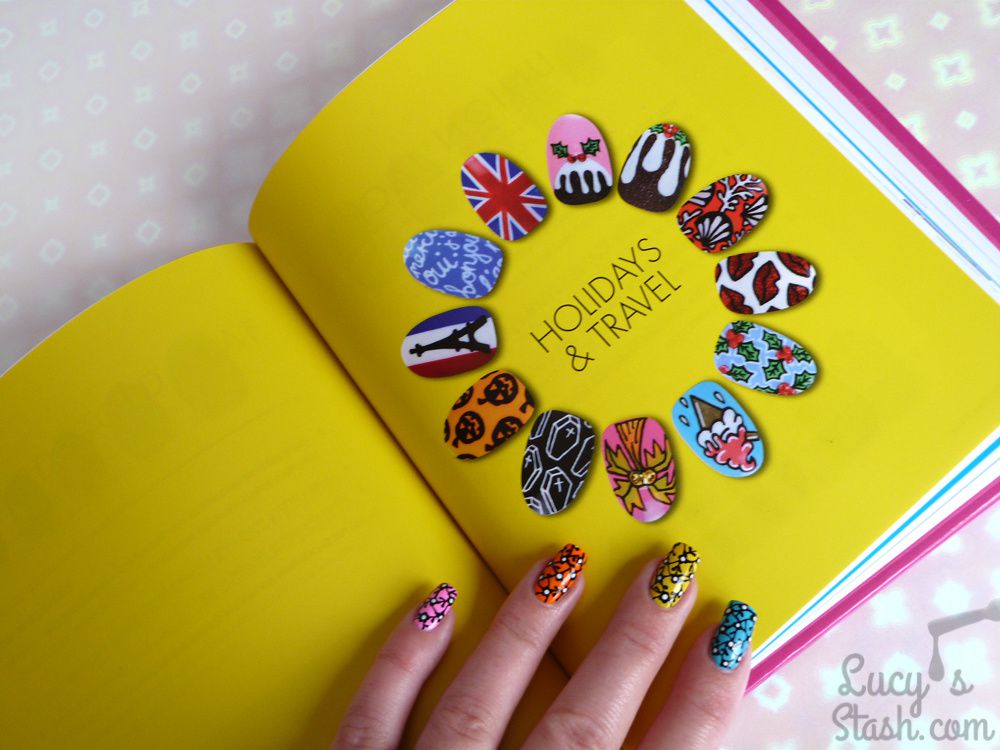
This book contains 100 nail art tutorials and nail care and nail art advice sorted into topical sections.There are simple and intricate designs included and each has picture and worded step-by-step instructions so everyone can find something for them. I like how everything is clearly explained and to me even just the picture steps are enough to understand how to re-create the design. I've seen before for example in the Scratch Magazine where Sophie is a regular columnist but I suspect this won't be the case with most people. Besides, here are all the pretty designs in one place, in one book. It might also be worth mentioning that Nail It! is a sturdy hard-back book and it's a nice quality.
The nail art themes covered are Picure It, Spots & Dots, French Tips & Half-Moons, Geometrics, Embellished Designs, Creative Effects, Holidays & Travel, Florals, Classic Prints and Catwalk Looks. What a range! You can find anything from Christmas and Halloween designs to flowers and abstract patterns. And most are in that wonderfuly 'illustration' style so distinctive for Sophie's work. Some might find it too cartoony but I just love it and appreciate the art and work that went into it.
I'm a huge fan of Sophie's work and I honestly think that so far this is the best nail art book I've had the pleasure of reading and it is totally worth the money! Nail It! is currently available on Amazon UK for £13.48 and newly on Amazon US.
I always love to hear your thoughts and feedback so leave a comment ;) Lucie x
/image%2F0703241%2F20201222%2Fob_7b3a98_semilac-my-love-gel-polish-nails-4.jpg) My Snowflake Nails for Christmas 2020 with Semilac...
My Snowflake Nails for Christmas 2020 with Semilac.../image%2F0703241%2F20200814%2Fob_22ce10_lart-supreme-kit-29-2.jpg) REVIEW: LART Supreme Mineral Powder Dipping System...
REVIEW: LART Supreme Mineral Powder Dipping System.../image%2F0703241%2F20170429%2Fob_799087_gilded-marbled-amethyst-nails-6.jpg) Dress your nails to impress with this marbled amethyst...
Dress your nails to impress with this marbled amethyst.../image%2F0703241%2F20170727%2Fob_3240b9_pink-gold-dry-brush-nail-art-4.jpg) The Manicure That (I) Rocked The Scratch Stars Awards...
The Manicure That (I) Rocked The Scratch Stars Awards...


/image%2F0703241%2F20150828%2Fob_99bfe5_img-8017-2.jpg) My Wedding Diary - Part 5: Accessories & THE CHOSEN...
My Wedding Diary - Part 5: Accessories & THE CHOSEN.../image%2F0703241%2F20150414%2Fob_42d6f1_wedding-invitations-2.jpg) My Wedding Diary - Part 2: The Wedding Invitations
My Wedding Diary - Part 2: The Wedding Invitations/image%2F0703241%2F20150319%2Fob_444e2a_my-wedding-diary-engagement.jpg) My Wedding Diary - Part 1: Engagement, Venue, Decorations...
My Wedding Diary - Part 1: Engagement, Venue, Decorations...