/image%2F0703241%2F20140120%2Fob_b8b3b5_blog-header-new2.jpg "nail art - reviews - swatches - nail tutorials")
Hello lovelies,
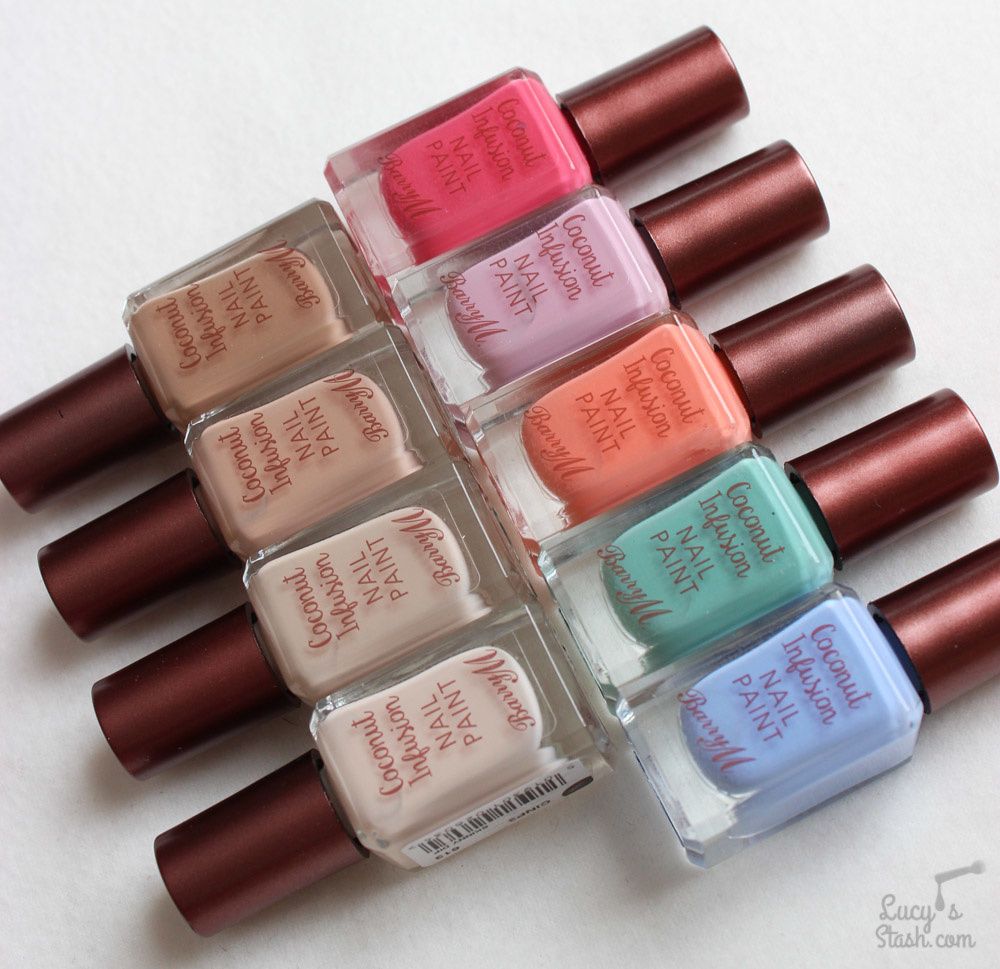
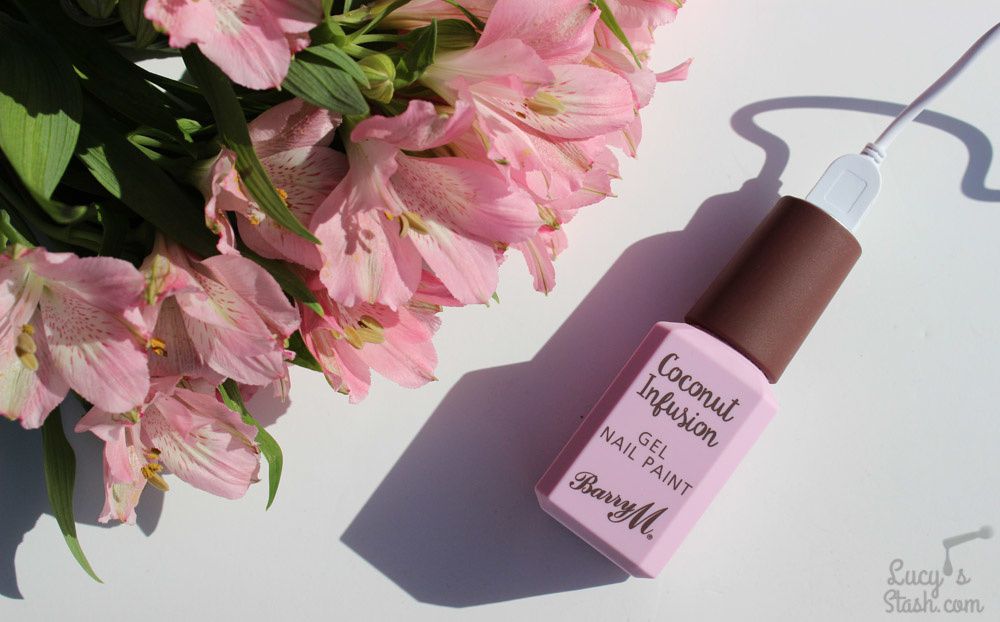
Today I want to show you the latest Barry M release - the Coconut Infusion collection! It consists of 9 new creme shades in glossy finish.
Coconut Infusion collection boasts with new and innovative formulation with a blend of coconut water and coconut oil. This supposedly gently hydrates and nourishes nails.
Barry M also states: "Enriched with anti-oxidising properties and the strengthening benefits of Vitamins B & C, nails are repaired and replenished."
Those are pretty bold claims so let's have a look at the polishes...

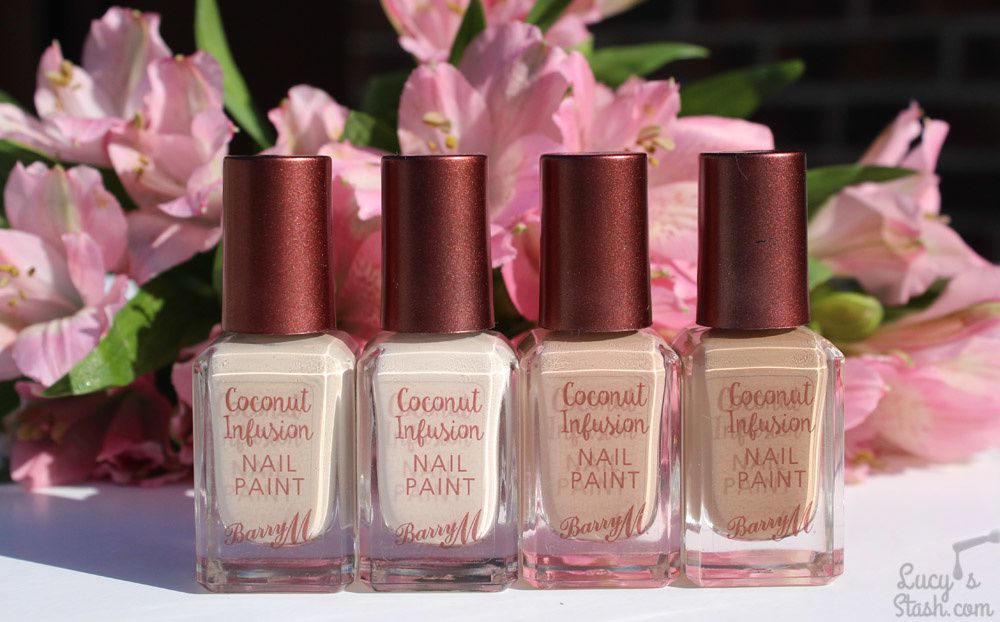

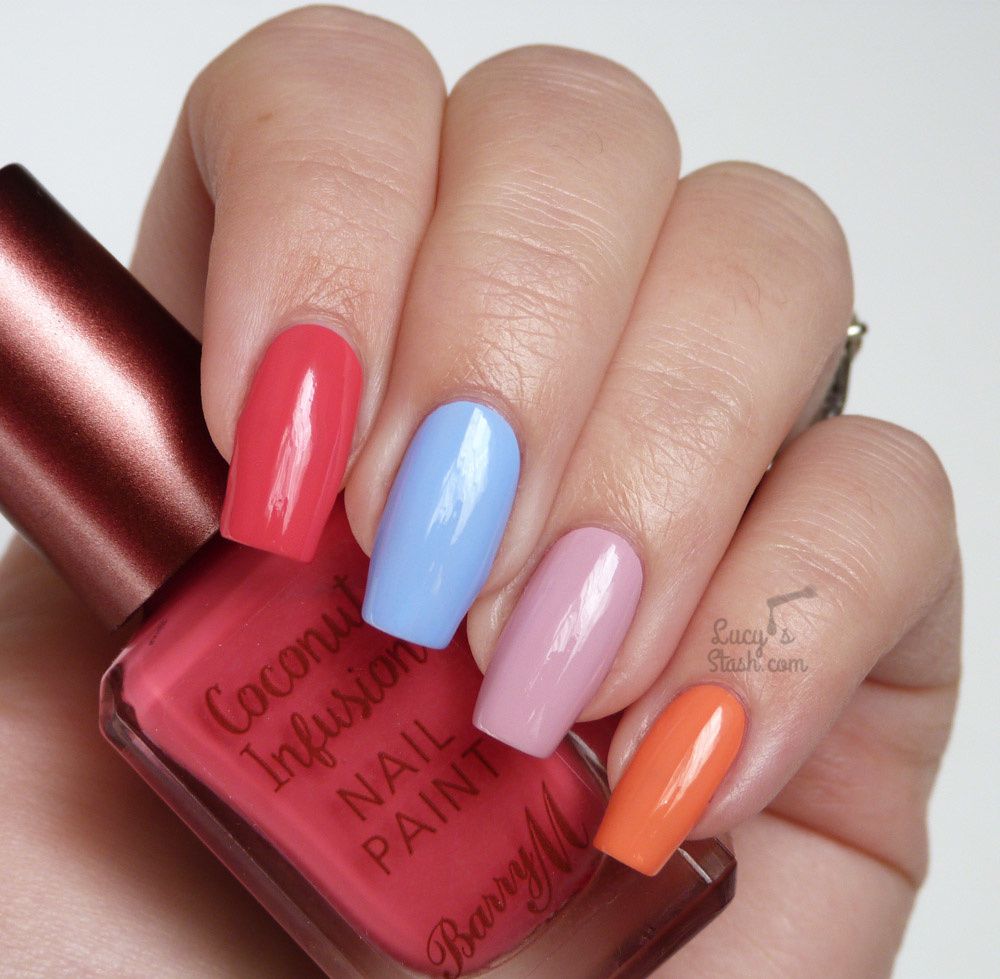
This collection comes in the standard bottle with a bronze cap that looks like it will be unique element to this collection. The colours vary from selection of beige and brown to more fun shades like peach, pink, blue and green. Also brush is very nice - Barry M has used the flat tapered brush with rounded edge so it helps the application and with achieving clean line.
I've prepared a skittle swatch of each colour so you can see them on nails (no full swatches, sorry!)


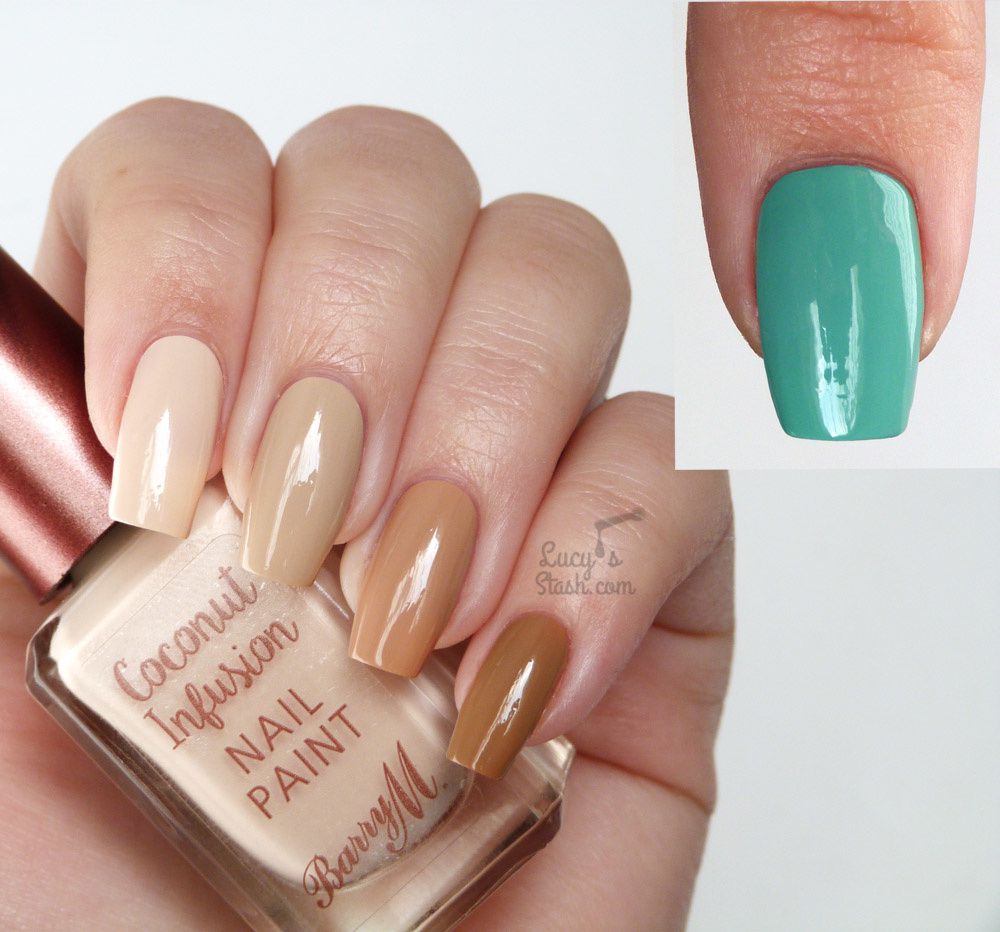
All of the swatches above are of two coats and NO TOPCOAT! I was so pleasantly surprised that the polishes were well-pigmented and really dried quite glossy even without topcoat. The formula was very easy to apply and not thicker like some other gel-like polishes. I also didn't use base coat ("no base coat is required as the healthy nutrients will infuse, hydrate and protect the nail") and the polishes proved to be good ridge-fillers as well. I got smooth and glossy gel-like finish without streaks and bald spots and if I'd had applied topcoat they would look even better. But I wanted to show you guys that the formula is really good by itself. They all dried fast even without the topcoat.
Another thing I would like to point out is the smell/scent. It has weaker 'regular nail polish' smell and I can smell hints of sweet, possibly coconutty scent. It's hard to put my finger on it but there is definitely some change in smell.
And as a bonus, Barry M have sent me this adorable portable phone/gadget charger shaped like nail polish bottle! Apparently I just need to charge it and then take it with me and if I need to charge my phone I just connect it to this charger wherever I am. Something to take to a festival :)
This collection is great for nail art because of the high pigmentation and nice formula so I'm sure you'll see these again in one of my future nail art manis. I really hope Barry M will be adding more and more shades to this line although I'm not so sure about the no base coat recommendation if they'll introduce darker colours. Overall, this is probably the best Barry M line to date, even better than the Gelly.
The Coconut Infusion collection is available at Barry M website for £4.99 each and also in Boots and Superdrug.
What do you think? Have you tried this collection yet? What are your thoughts?
Have a lovely day! Lucie
*PR samples
/image%2F0703241%2F20161015%2Fob_c6253a_glow-in-the-dark-halloween-pumkin-face.jpg) Halloween Glow-in-the-dark Pumpkin Face Nail Art +...
Halloween Glow-in-the-dark Pumpkin Face Nail Art +.../image%2F0703241%2F20160913%2Fob_a0f8a6_british-nail-art-over-dance-legend-gre.jpg) 10 Old Nail Art Manicures That Never Made It To The...
10 Old Nail Art Manicures That Never Made It To The.../image%2F0703241%2F20160425%2Fob_7b3193_barry-m-gelly-pink-lemonade-with-bundl.jpg) Soft Pink Nail Art Manicure feat. Barry M & Bundle...
Soft Pink Nail Art Manicure feat. Barry M & Bundle.../image%2F0703241%2F20160511%2Fob_519052_barry-m-superdrug-exclusives-summer-20.jpg) Barry M Superdrug & Boots Exclusives Summer 2016 -...
Barry M Superdrug & Boots Exclusives Summer 2016 -...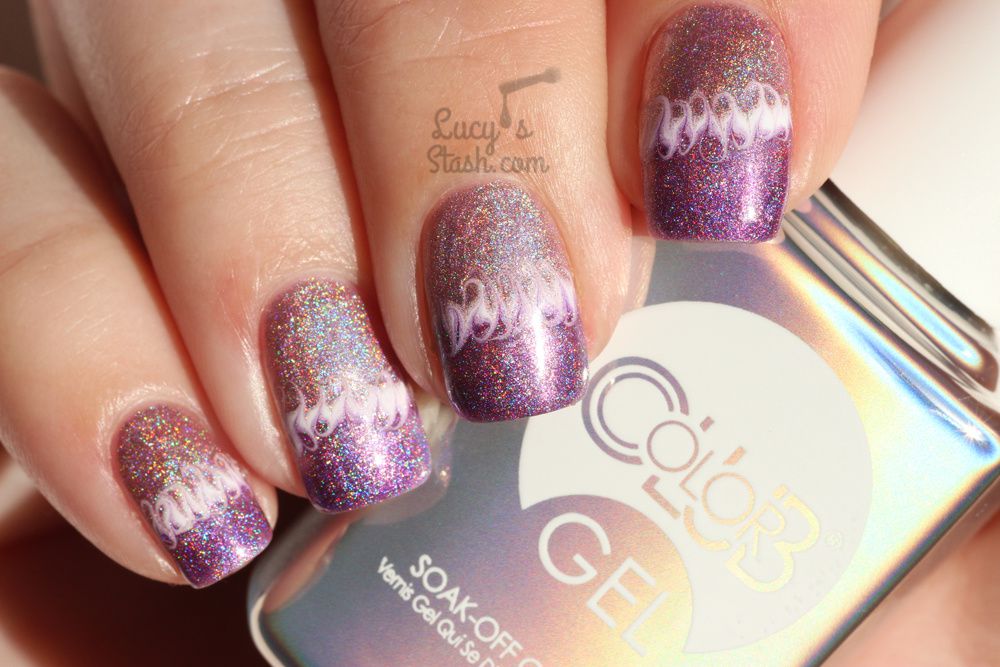


/image%2F0703241%2F20170727%2Fob_3240b9_pink-gold-dry-brush-nail-art-4.jpg) The Manicure That (I) Rocked The Scratch Stars Awards...
The Manicure That (I) Rocked The Scratch Stars Awards.../image%2F0703241%2F20160825%2Fob_626efc_rainbow-striped-nails-with-leighton-de.jpg) Paint All The Nails Presents Colour Block Nail Art...
Paint All The Nails Presents Colour Block Nail Art.../image%2F0703241%2F20160526%2Fob_866002_sea-inspired-dotticure-3.jpg) Paint All The Nails Presents Dotticures | Sea Inspired...
Paint All The Nails Presents Dotticures | Sea Inspired.../image%2F0703241%2F20160520%2Fob_05f4d1_gradient-scratched-rose-design-insp-by.jpg) ABC Challenge: C is for Carving | Nail Art Challenge
ABC Challenge: C is for Carving | Nail Art Challenge