Showing posts with label studs

Hello lovelies,


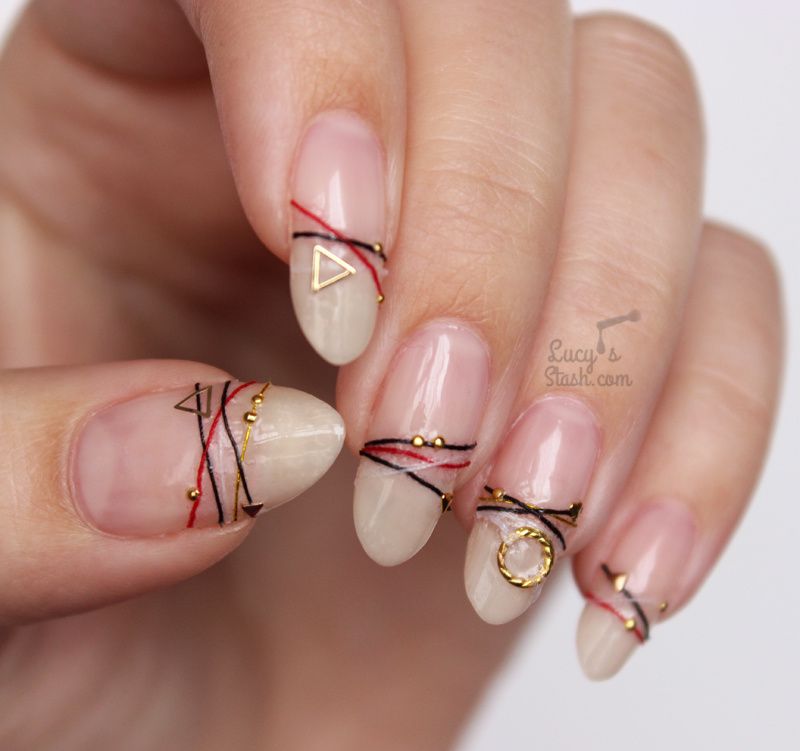
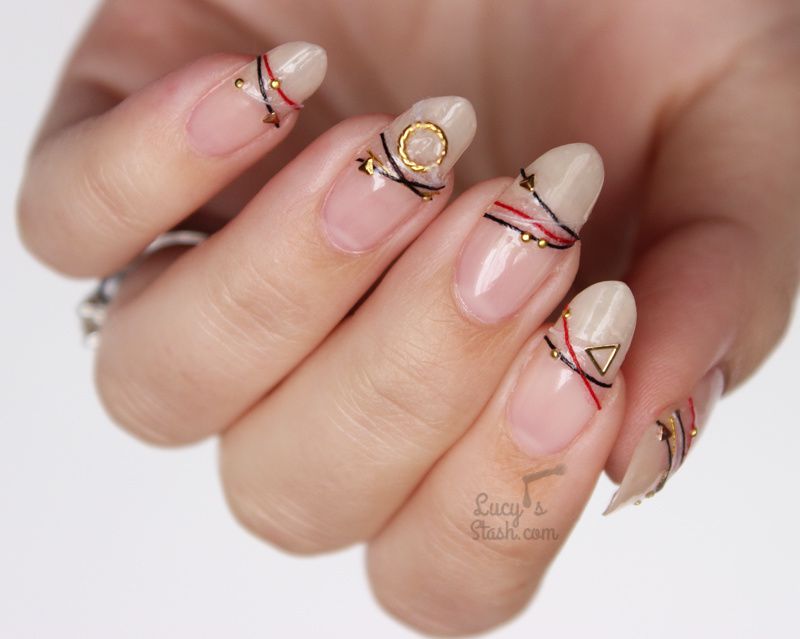
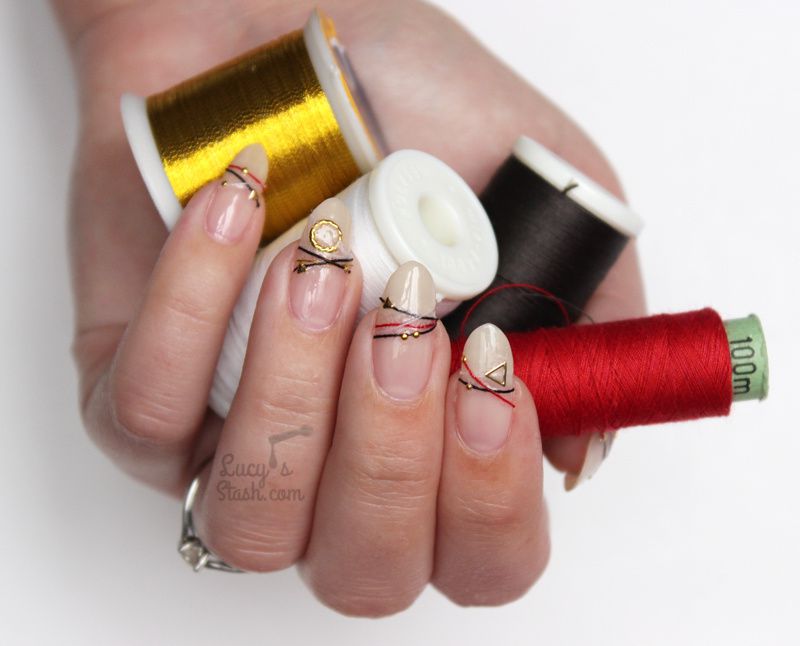
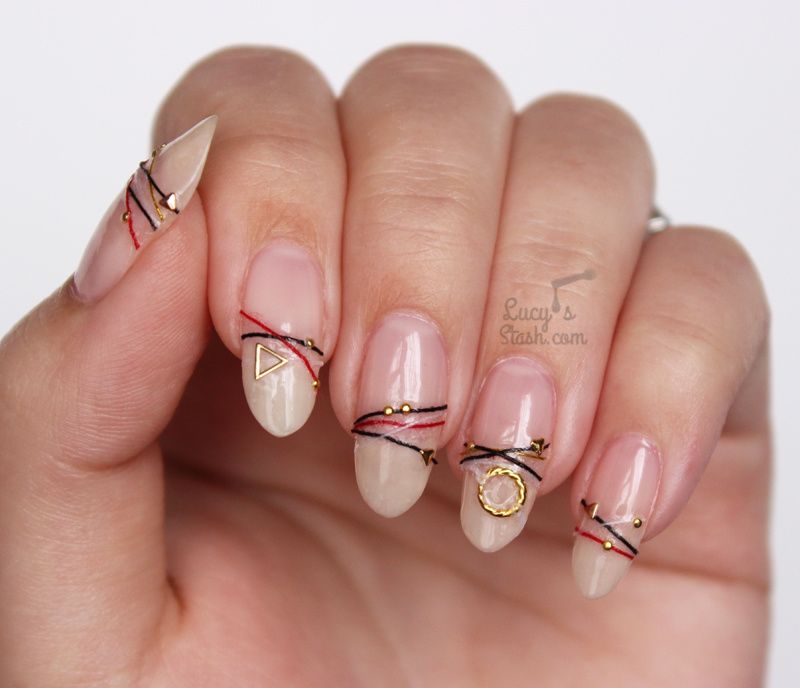
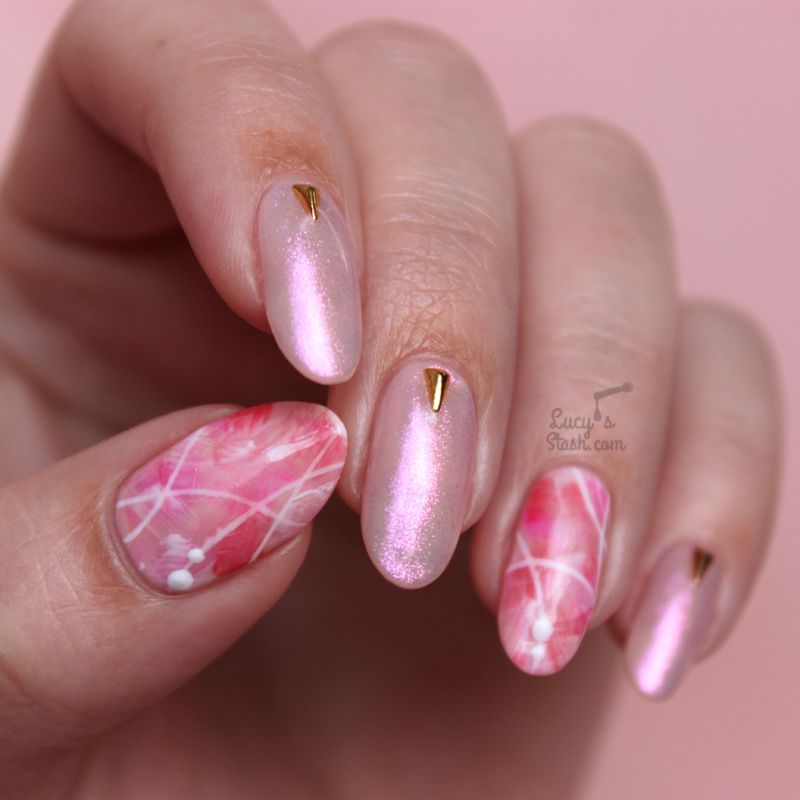
I'm trying to participate in the ABC Nail Art challenge every week and even though I'm a day late, here's my manicure for the letter J! It is inspired by Japanese-style nail art and I've also used a Japanese gel - Bella Forma (now re-branded to VETRO I think). I wore this gel manicure for two weeks while I went on my New York holiday and to the Scratch Stars Awards and it hold brilliantly!


ABC Challenge: J is for Japanese-style Nail Art | Nail Art Challenge


Products used:

Bella Forma JAPAN Base Clear PRO

Bella Forma JAPAN Top Clear

Bella Forma JAPAN 23 Mat white

Bella Forma JAPAN 211 Almond beige

Bella Forma JAPAN 141 Enamel shock

Bella Forma JAPAN 21 Tsubaki

IBD Gel Bonder

UberChic Magic Dust Egyptian Sunset

Gold triangle studs

Dotting tool

Gel brushes (use LUHH10 for 10% OFF)


I've combined plain nails with pink shimmer using UberChic Magic Dust and gold triangle studs and accent nails with nail art. The Magic Dust was really fine powder (it got everywhere!) that was easy to work with - I just burnished it into the sticky layer after I cured the gel. The nail art is kind of like a dry brush except I've done it with uncured gel so that the colours would blend a little. Then I added white lines and couple of dots. over the pattern.


ABC Challenge: J is for Japanese-style Nail Art | Nail Art Challenge


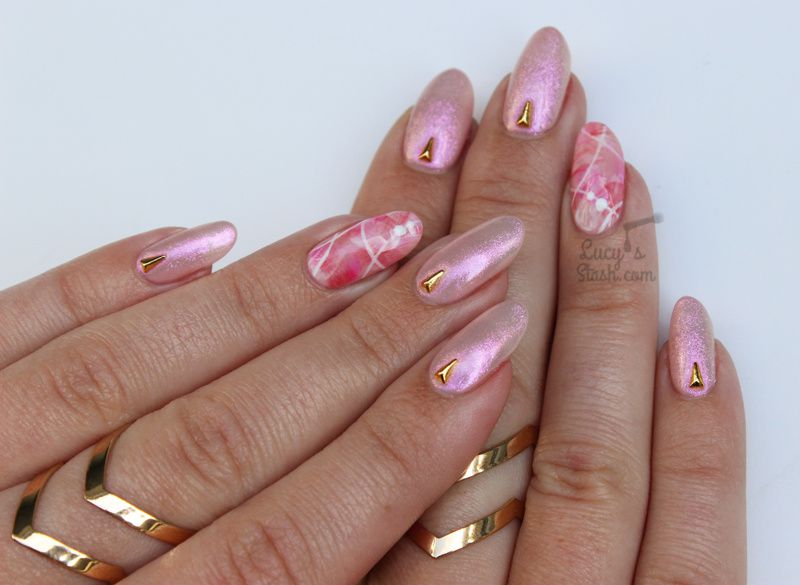
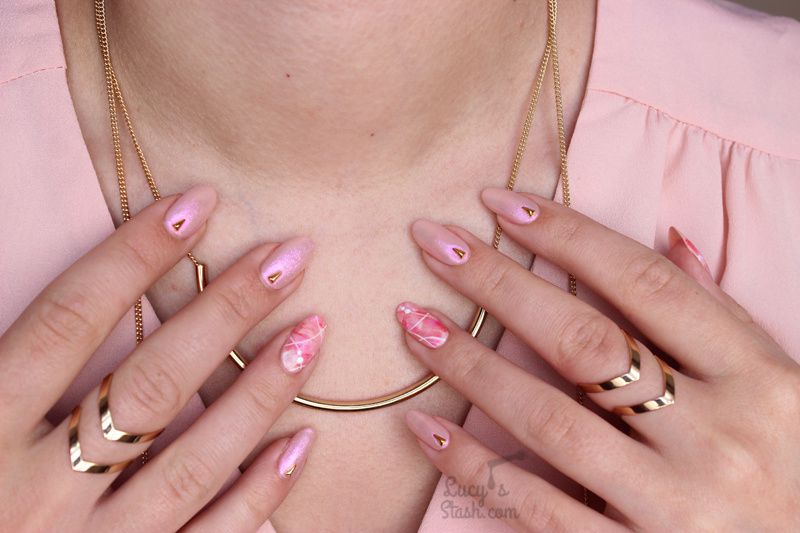
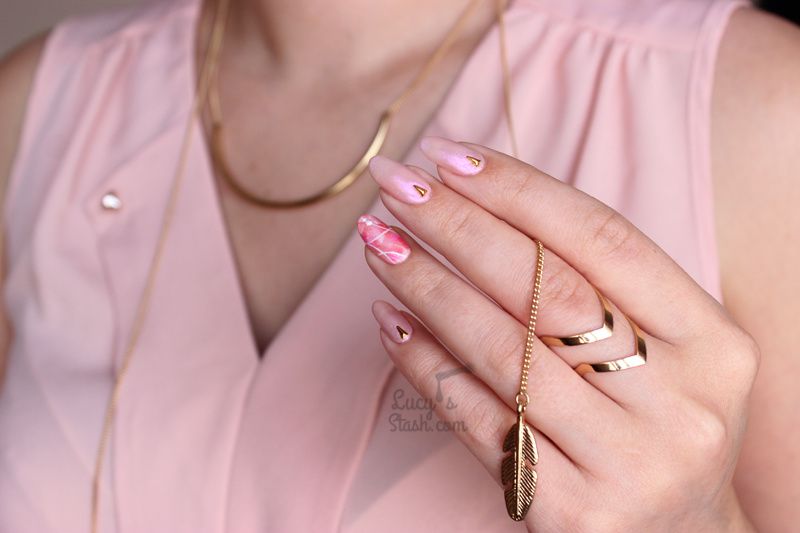
I really enjoyed wearing this manicure and it was such a change to have rounded nails like this. Looking back at the photos - I'm actually really liking the round nails. right now I have them filed into a point, an almond shape but I'm not that 100% sure about it. Damn, this is hard decision :D :D What do you guys think?


The rings are from Born Pretty Store, necklace from Primark. Don't forget to check out the other manicures from ladies who participate in this challenge and have a lovely day!


Hello lovelies,


Have you spotted the new hot trend - BRACELET NAILS yet? I did and I want to show you how you can create this nail art yourself using nail polish, string (thread) and embellishments. I love trying out new styles and I think my new nail shapes suits this one a lot!


I've recreated a natural looking bracelet nails by @nail_unistella, a fabulous Korean nail artist! By the way - this same nail artist(s) has also created the shattered glass nails look!


Here's how my nails turned out:


Bracelet Nails DIY Tutorial - How to create your own bracelet nails with nail polish, strings and studs


The original bracelet nails are done with sewing threads/strings and embellishments encapsulated in gel. This is certainly the best way to get a long wear out of this design but I know most of you (and I) don't really wear gel nails so I have tested out this trend using nail polish. I'm still wearing these nails 3 days later as I'm writing this post and apart from one small stud everything is still on.


Similar design can also be achieved by painting lines on the nails instead of applying the strings but it just doesn't look as 'real' and authentic to me. It's still pretty and nice alternative though.


Bracelet Nails DIY Tutorial - How to create your own bracelet nails with nail polish, strings and studs


Products used:

Sewing thread/string
Cuticle nippers/scissors
Tweezers
OPI Barre My Soul
Hollow triangle embellishments
Circle wreath stud
Mini triangles
OPI Natural Nail Base Coat
Seche Vite topcoat
Mini dot studs


I've prepared a video tutorial on how to create these nails so I hope you'll find it useful:


TIPS:

  • Choose strings/threads that don't have 'fluf' around them. The strings should be smooth and without fibres sticking out
  • Let the nail polish base dry properly or seal it with fast-drying top coat before adding strings and embellishments. This will prevent the nail polish underneath to be ruined if you have to move the strings and studs around
  • Tweezers will be your best friend - make sure you have a pair handy to be able to handle the string and tiny studs and hold them down while the polish is drying
  • Keep it small and simple - minimalist look seems to suit this style the best as do small studs and embellishments. Big pieces might disrupt the look (yes, I do regret using that big circle piece!)
  • Use two coats of top coat and apply it well around the embellishments to secure them - this will help them to stay on longer


So what do you think of this new trend - will you be trying it? Did you find my tutorial and tips helpful? Let me know what you think in the comments.


Have a lovely day! Lucie x