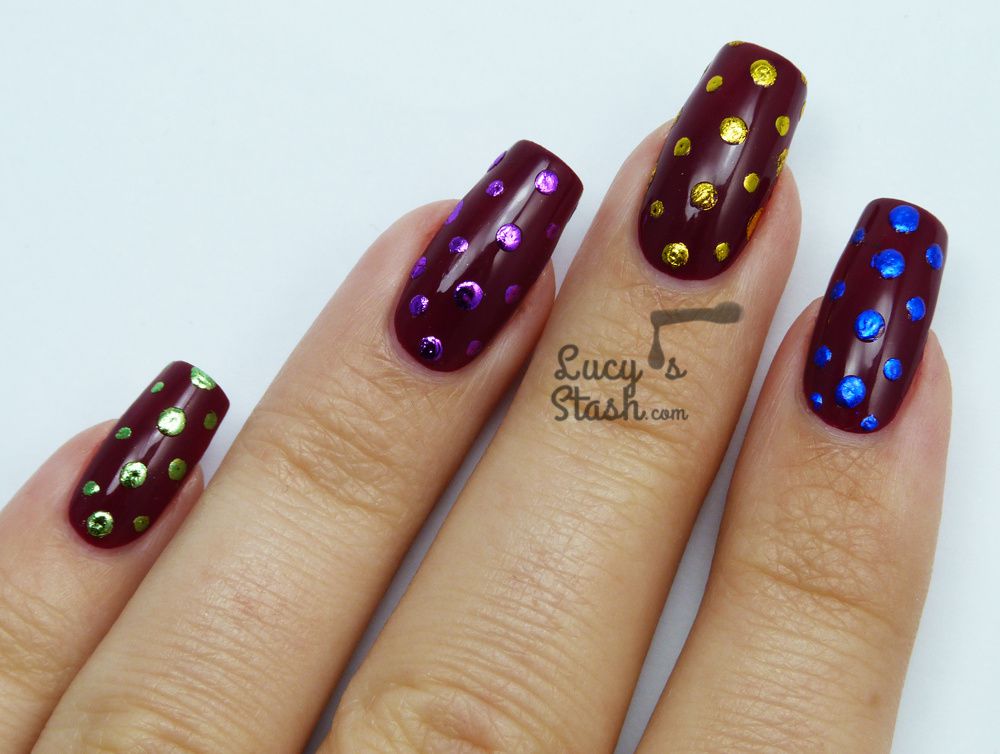
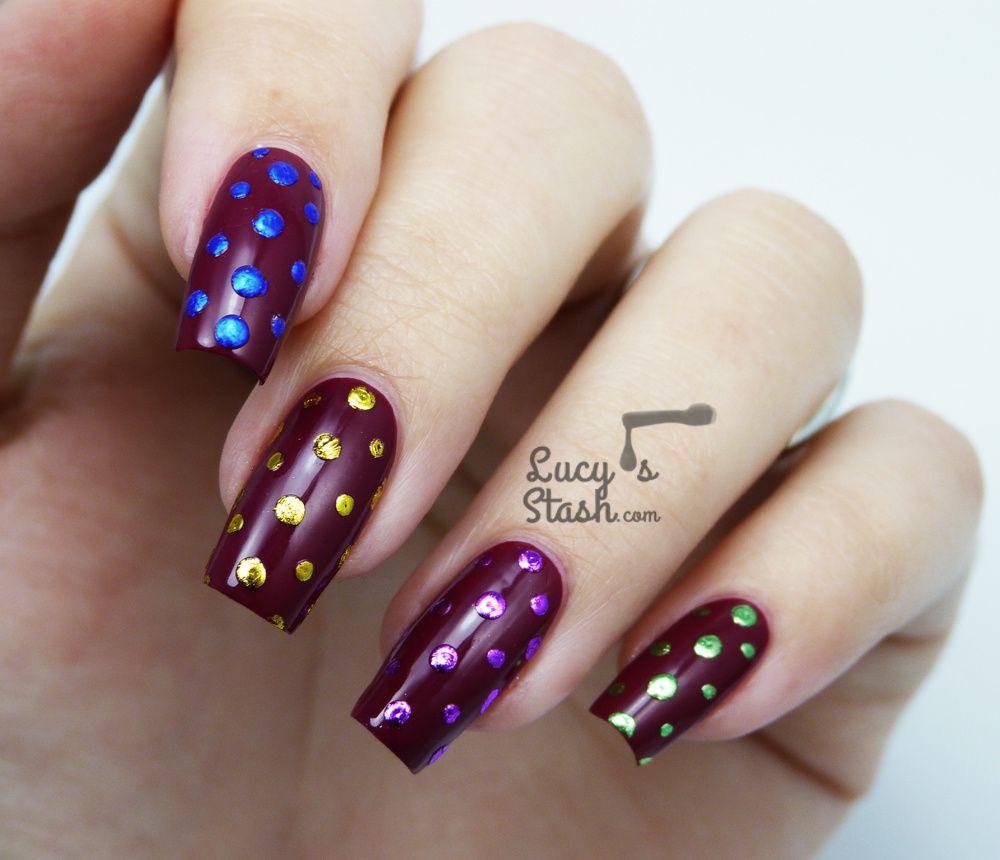
I hope you found my tutorial clear and easy to follow :) Here's the blog post that comes with the video:
Tutorial by Chalkboard Nails: http://www.chalkboardnails.com/2013/11/tutorial-distressed-nail-art-punkgrungy.html
Please don't forget to give the video thumbs up and subscribe and I also welcome any constructive feedback as to how I could improve my work.
Here are links to my other channels and blog:
Blog: http://lucysstash.com/
Facebook: http://www.facebook.com/pages/Lucys-Stash/162344417128934
Pinterest: http://pinterest.com/lucysstash/
Bloglovin: http://www.bloglovin.com/blog/2017060/lucys-stash
Twitter: https://twitter.com/LucysStash
Tumblr: http://lucysstash.tumblr.com/
Instagram: http://instagram.com/lucysstash/#
Music: Original piece by Peter Hall
I hope you found my tutorial clear and easy to follow :) Here's the blog post that comes with the video: Tutorial by Chalkboard Nails: http://www.chalkboardnails.com/2013/11/tutorial-distressed-nail-art-punkgrungy.html Please don't forget to give the video thumbs up and subscribe and I also welcome any constructive feedback as to how I could improve my work. Here are links to my other channels and blog: Blog: http://lucysstash.com/ Facebook: http://www.facebook.com/pages/Lucys-Stash/162344417128934 Pinterest: http://pinterest.com/lucysstash/ Bloglovin: http://www.bloglovin.com/blog/2017060/lucys-stash Twitter: https://twitter.com/LucysStash Tumblr: http://lucysstash.tumblr.com/ Instagram: http://instagram.com/lucysstash/# Music: Original piece by Peter Hall
/image%2F0703241%2F20140120%2Fob_b8b3b5_blog-header-new2.jpg)
/image%2F0703241%2F20201222%2Fob_7b3a98_semilac-my-love-gel-polish-nails-4.jpg) My Snowflake Nails for Christmas 2020 with Semilac...
My Snowflake Nails for Christmas 2020 with Semilac.../image%2F0703241%2F20200814%2Fob_22ce10_lart-supreme-kit-29-2.jpg) REVIEW: LART Supreme Mineral Powder Dipping System...
REVIEW: LART Supreme Mineral Powder Dipping System.../image%2F0703241%2F20170429%2Fob_799087_gilded-marbled-amethyst-nails-6.jpg) Dress your nails to impress with this marbled amethyst...
Dress your nails to impress with this marbled amethyst.../image%2F0703241%2F20200716%2Fob_eec075_lart-gel-polish-vs-bio-seaweed-gel-pol.jpg) Colourful Rainbow Manicure with LART Hybrid Gel Polish...
Colourful Rainbow Manicure with LART Hybrid Gel Polish...


/image%2F0703241%2F20160913%2Fob_a0f8a6_british-nail-art-over-dance-legend-gre.jpg) 10 Old Nail Art Manicures That Never Made It To The...
10 Old Nail Art Manicures That Never Made It To The.../image%2F0703241%2F20140113%2Fob_d06829_cnd-lilac-longing) CND VINYLUX Lilac Longing - Review & Swatches
CND VINYLUX Lilac Longing - Review & Swatches/image%2F0703241%2F201311%2Fob_29c1f2_moustache-movember-nail-art-nails-1.jpg) Movember Moustache Nail Art
Movember Moustache Nail Art/image%2F0703241%2F201311%2Fob_00aaa3_cnd-forbidden-collection.jpg) CND VINYLUX™ Forbidden Collection - Review & swatches
CND VINYLUX™ Forbidden Collection - Review & swatches