/image%2F0703241%2F20140120%2Fob_b8b3b5_blog-header-new2.jpg "nail art - reviews - swatches - nail tutorials")
Hello lovelies,
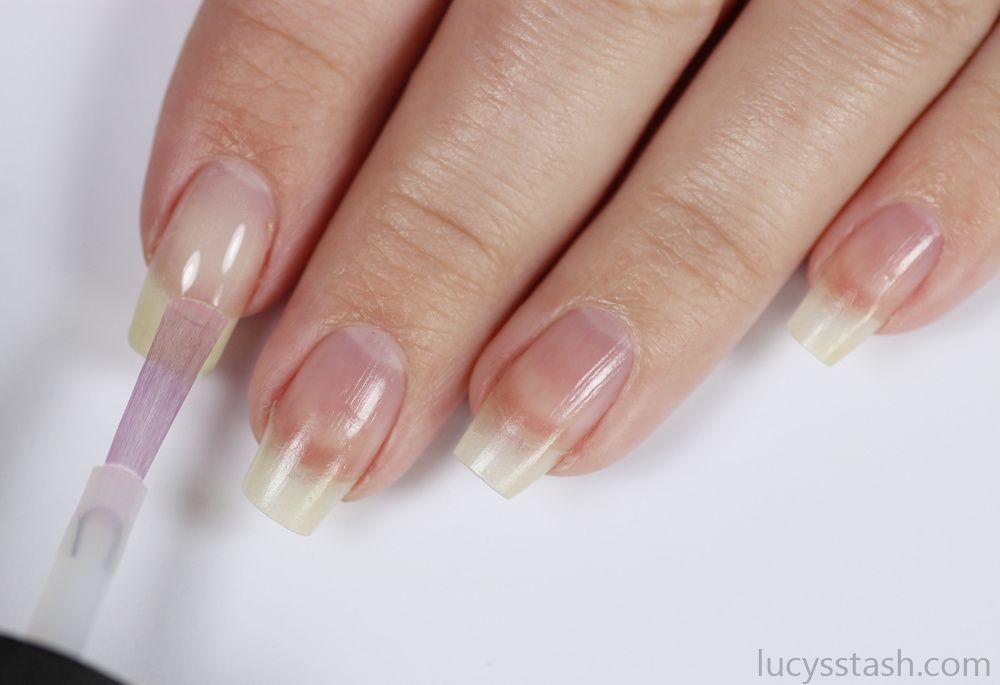
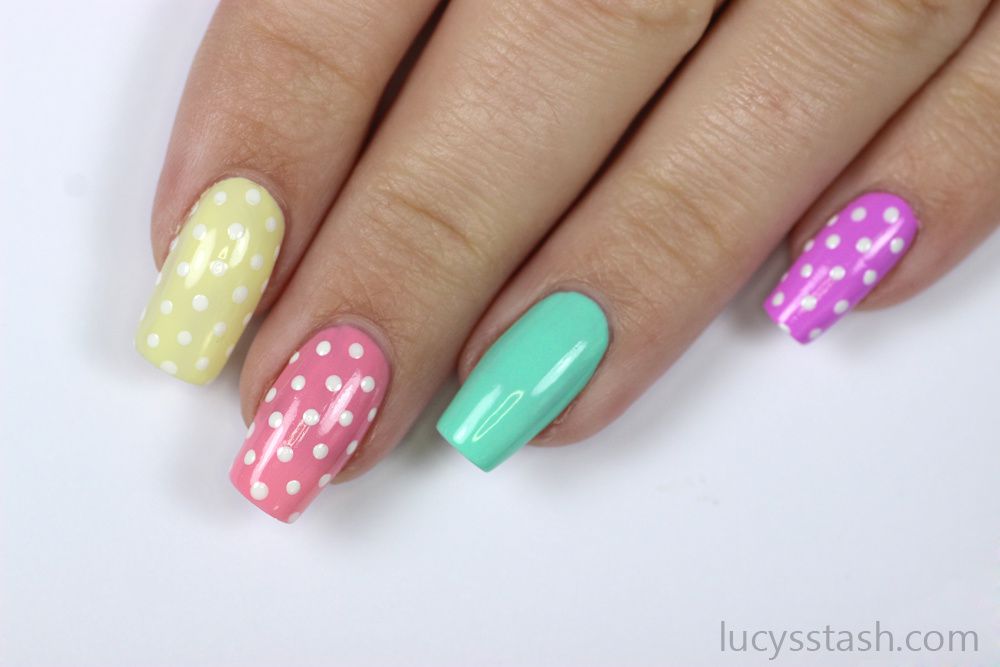
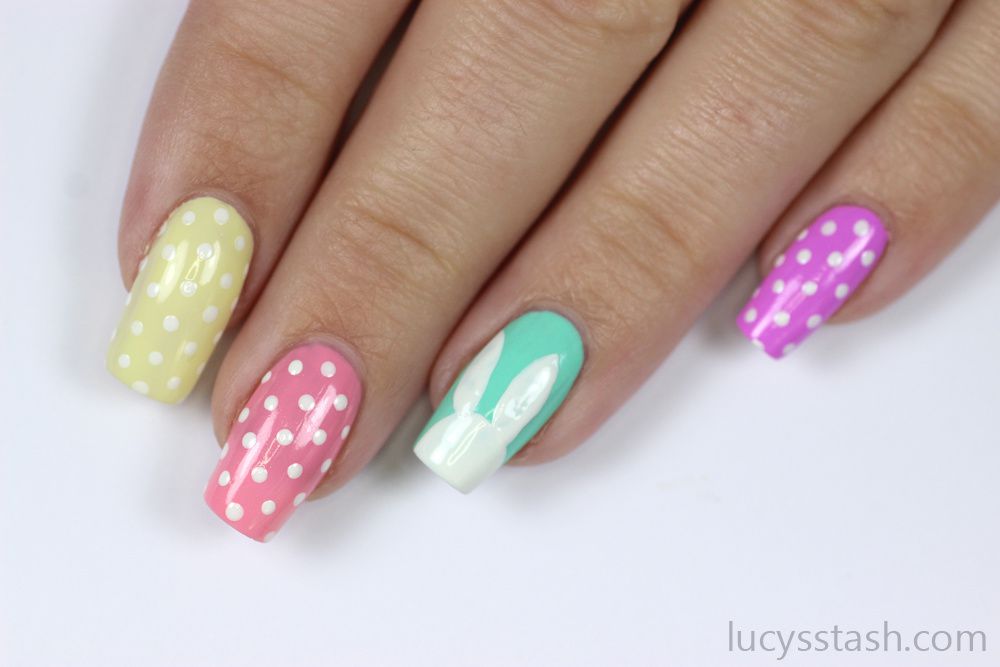
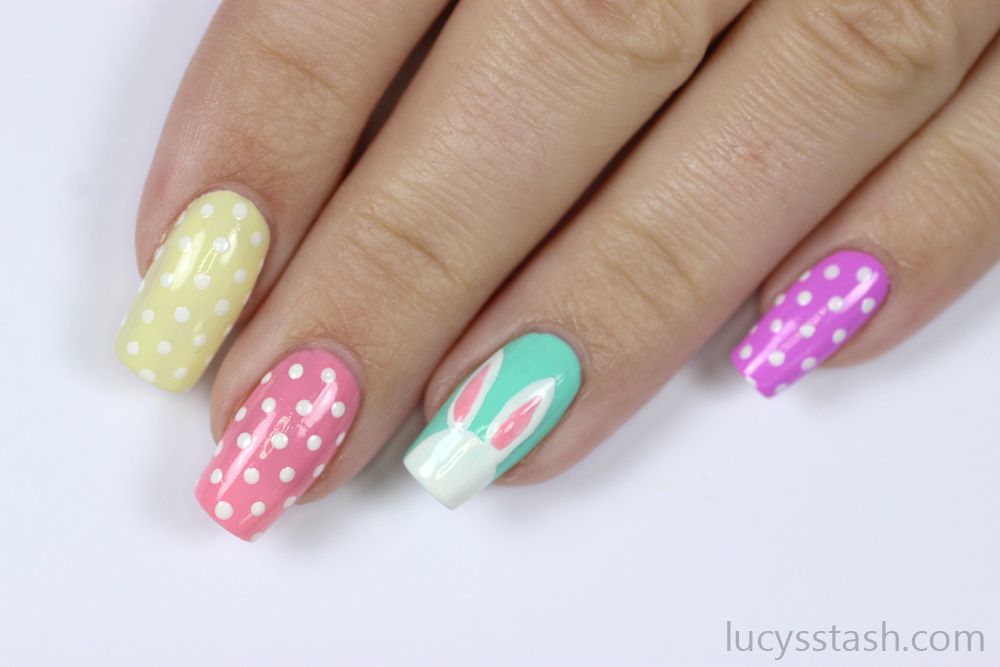
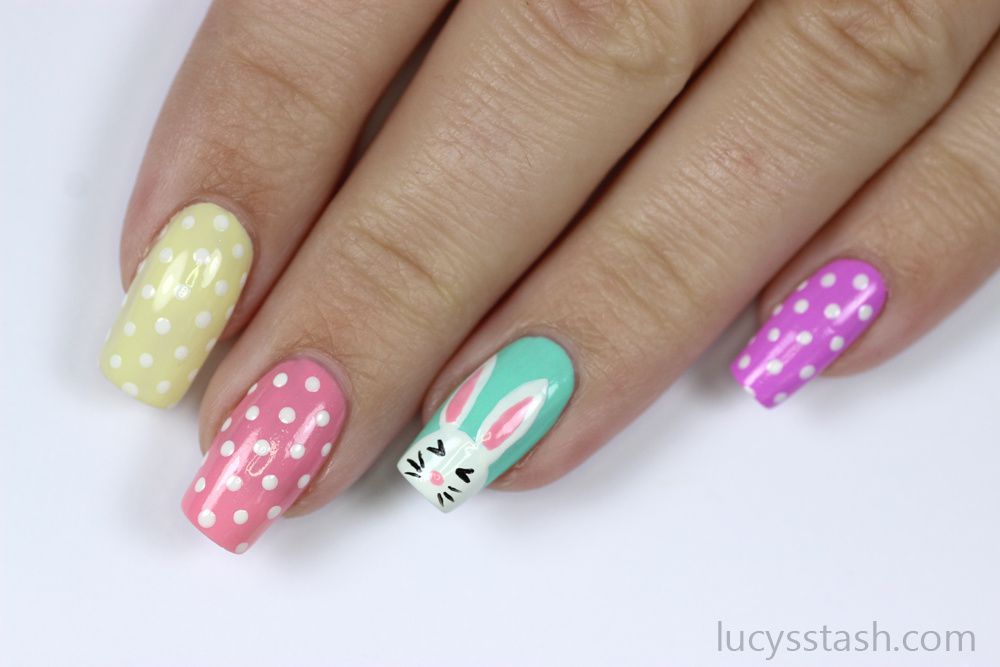
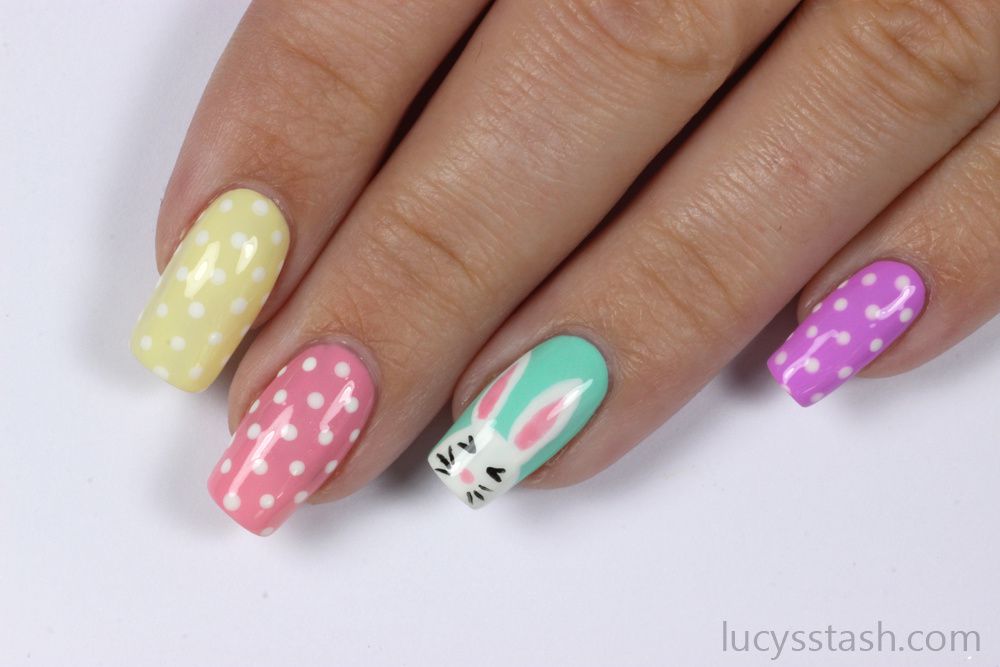
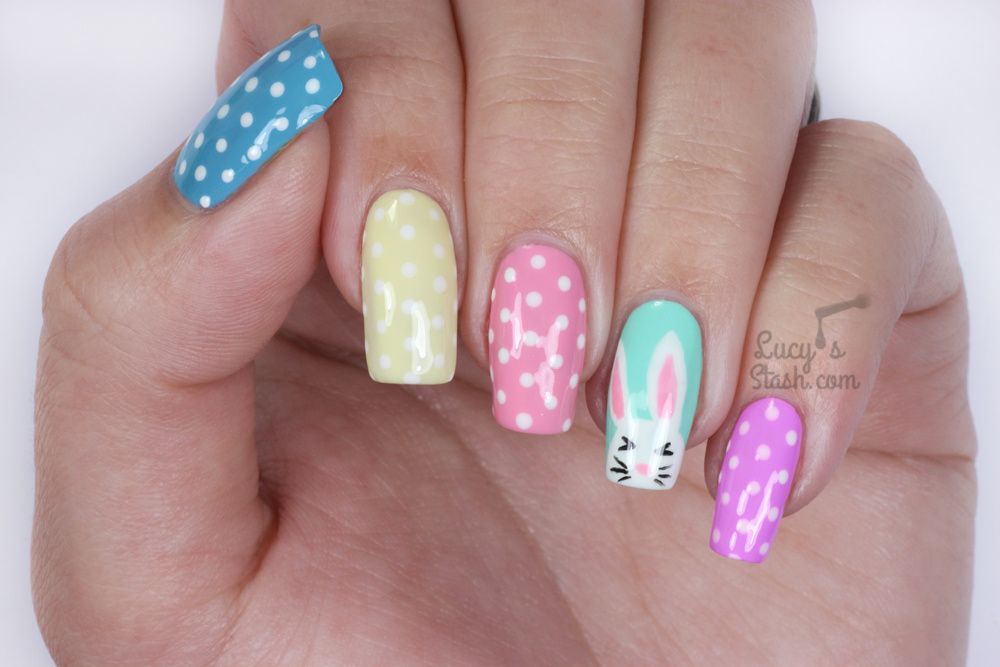
Happy Easter Monday! It's finally a bit sunny here in England and I want to bring out the pastel shades! I have here four new Barry M Speedy Quick Dry shades released this year that I want to show you...and of course I had to pair them up with a pretty flower ;)


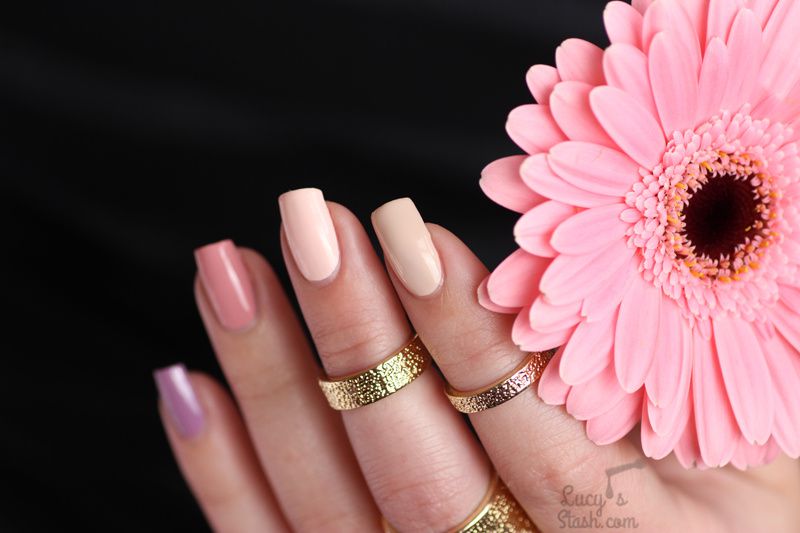
Barry M keeps adding seasonal shades to their nail polish line and in February they've added these four new pastel shades to their Speedy Quick Dry line. This whole line has flat wide brushes with rounded ends to allow fast 3-stroke application and a signature chequered cap. The new colours are: In A Flash, Personal Best, Winning Streak and Freestyle.
All the polishes have little bit thicker formula so the application was challenging. They dry really fast so I had to work little bit faster than I usually do otherwise I was experiencing some bald spots. The finish is smooth and glossy but topcoat is a must as it evens out any uneven application.
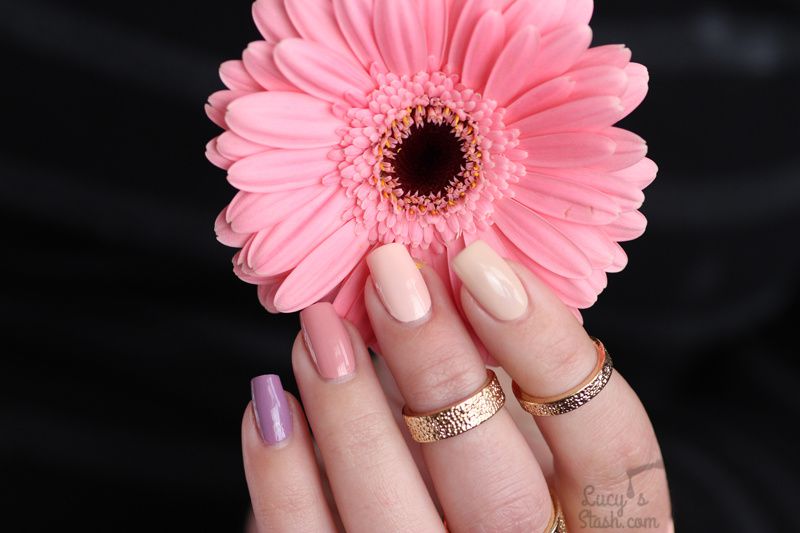
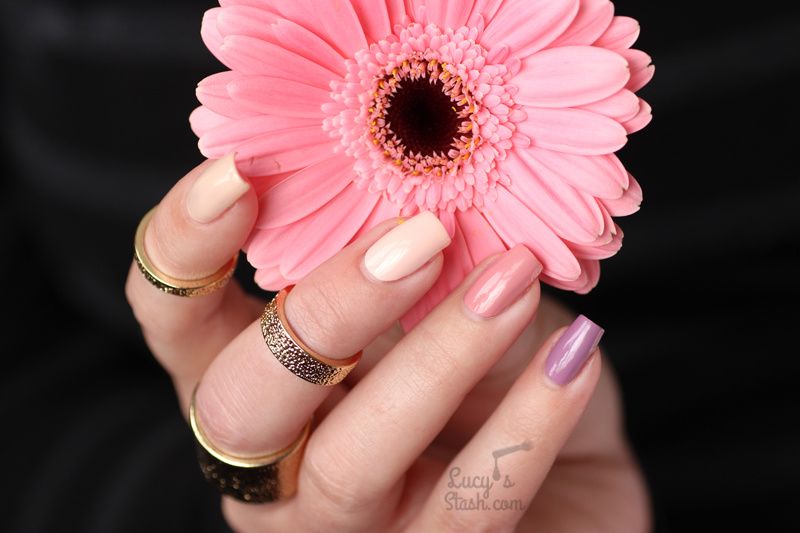
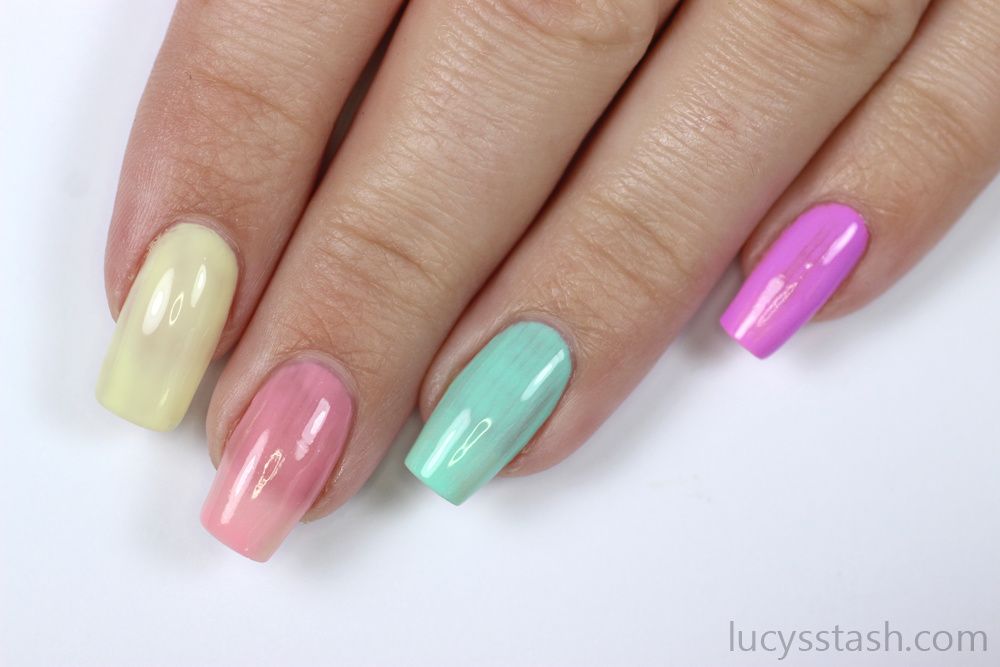
I'm wearing them in photos in the following order:
Index: Winning Streak - 2 coats
Middle: In A Flash - 3 coats
Ring: Freestyle - 2 coats
Pinkie: Personal Best - 2 coats


These new additions to the Speedy Quick Dry line are pretty and feminine and fitting the Spring season. I wore this look for about three days and haven't experienced any chipping so on me they lasted nicely.
Have you bought any of these yet? Do you like them?
Have a lovely day! Lucie x
PS: In case you're wondering, the rings are from H&M :)
*PR samples
/image%2F0703241%2F20161015%2Fob_c6253a_glow-in-the-dark-halloween-pumkin-face.jpg) Halloween Glow-in-the-dark Pumpkin Face Nail Art +...
Halloween Glow-in-the-dark Pumpkin Face Nail Art +.../image%2F0703241%2F20160913%2Fob_a0f8a6_british-nail-art-over-dance-legend-gre.jpg) 10 Old Nail Art Manicures That Never Made It To The...
10 Old Nail Art Manicures That Never Made It To The.../image%2F0703241%2F20160425%2Fob_7b3193_barry-m-gelly-pink-lemonade-with-bundl.jpg) Soft Pink Nail Art Manicure feat. Barry M & Bundle...
Soft Pink Nail Art Manicure feat. Barry M & Bundle.../image%2F0703241%2F20160511%2Fob_519052_barry-m-superdrug-exclusives-summer-20.jpg) Barry M Superdrug & Boots Exclusives Summer 2016 -...
Barry M Superdrug & Boots Exclusives Summer 2016 -...


/image%2F0703241%2F20201222%2Fob_7b3a98_semilac-my-love-gel-polish-nails-4.jpg) My Snowflake Nails for Christmas 2020 with Semilac...
My Snowflake Nails for Christmas 2020 with Semilac.../image%2F0703241%2F20200814%2Fob_22ce10_lart-supreme-kit-29-2.jpg) REVIEW: LART Supreme Mineral Powder Dipping System...
REVIEW: LART Supreme Mineral Powder Dipping System.../image%2F0703241%2F20170429%2Fob_799087_gilded-marbled-amethyst-nails-6.jpg) Dress your nails to impress with this marbled amethyst...
Dress your nails to impress with this marbled amethyst.../image%2F0703241%2F20170727%2Fob_3240b9_pink-gold-dry-brush-nail-art-4.jpg) The Manicure That (I) Rocked The Scratch Stars Awards...
The Manicure That (I) Rocked The Scratch Stars Awards...