/image%2F0703241%2F20140120%2Fob_b8b3b5_blog-header-new2.jpg "nail art - reviews - swatches - nail tutorials")
Hello lovelies,
Stamping seems to be catching a second wave of popularity and I'm enjoying it! There are so many stunning stamping manicures by talented ladies out there, especially in Facebook groups and on Instagram. So today I want to share with you one stamping manicure I've done.
When I was swatching the ILNP Multichrome Flakies I just had to stamp over them. You could have seen one floral manicure previously. This time I opted for cool silver futuristic-looking pattern. I stamped directly over the flakies with no topcoat which caused the polish to create industrial steel-ish look. It's hard to describe so just have a look at what I mean:


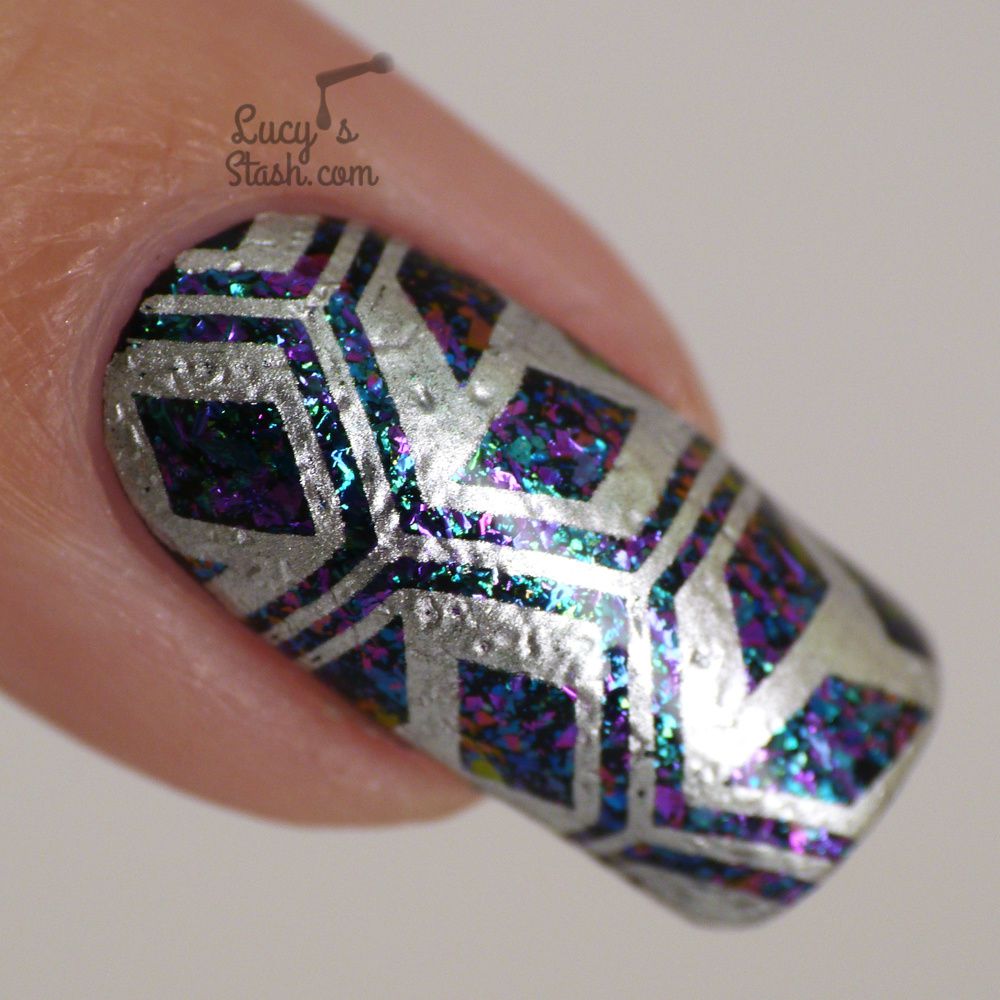
It created a very cool effect, right? I have applied a coat of topcoat which did not smooth the silver out, instead it sealed it as it was.
I have used ILNP Metropolis & Cold Fusion layered over Cirque memento Mori, Pueen Buffet Leisure stamping plate #79 and China Glaze Millennium (silver metallic polish).
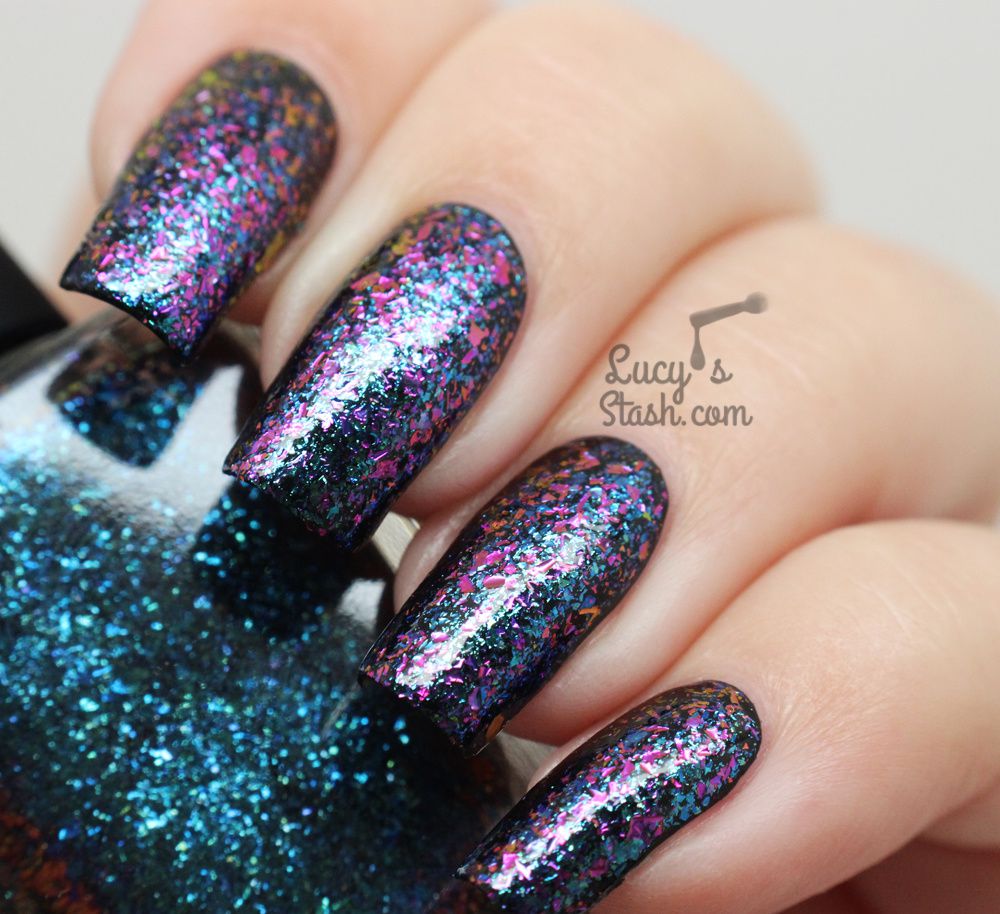
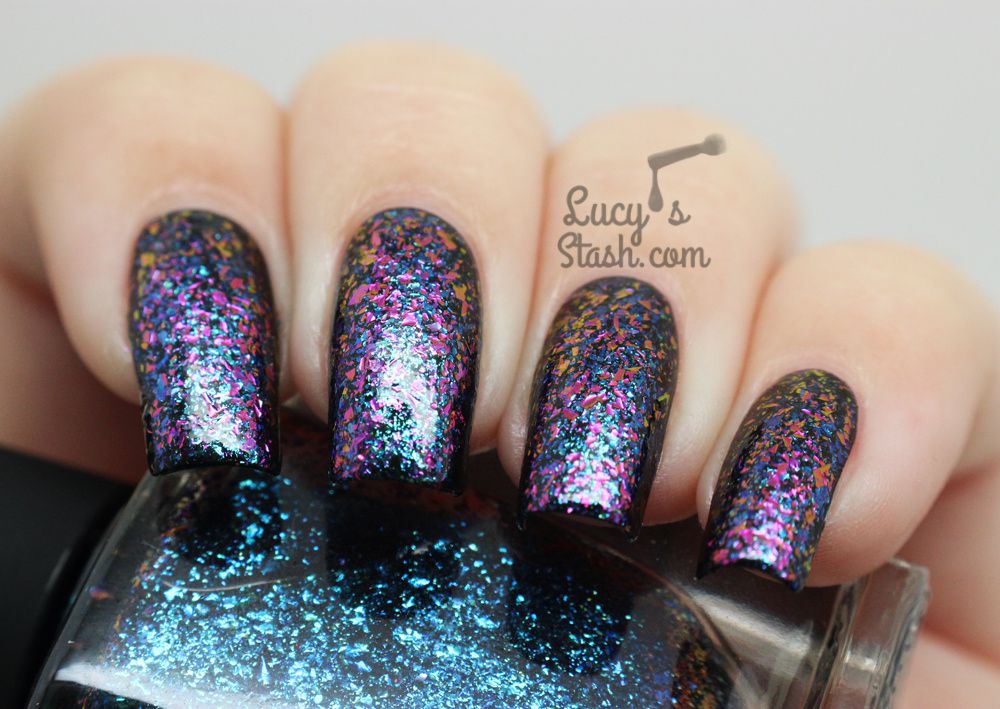
And here are some pictures, before stamping of ILNP Metropolis & Cold Fusion over black.


/image%2F0703241%2F20160113%2Fob_907c21_floral-stamped-ilnp-flakie-gradient-4.jpg) Flowers & Flakies Nail Art ♥
Flowers & Flakies Nail Art ♥ /image%2F0703241%2F20160103%2Fob_63e882_shattered-glass-trend.jpg) Lucy's Stash and 2015 Highlights, Favourites and Fails...
Lucy's Stash and 2015 Highlights, Favourites and Fails.../image%2F0703241%2F20150115%2Fob_8ae7dd_pueen-stamping-over-ilnp-brilliance.jpg) Floral Stamping Meets ILNP Flakies ♥
Floral Stamping Meets ILNP Flakies ♥/image%2F0703241%2F20150107%2Fob_eb3b09_ilnp-ultra-chrome-flakies-collection-b.jpg) BIG GUIDE to colour combinations of ILNP Ultra Chrome...
BIG GUIDE to colour combinations of ILNP Ultra Chrome...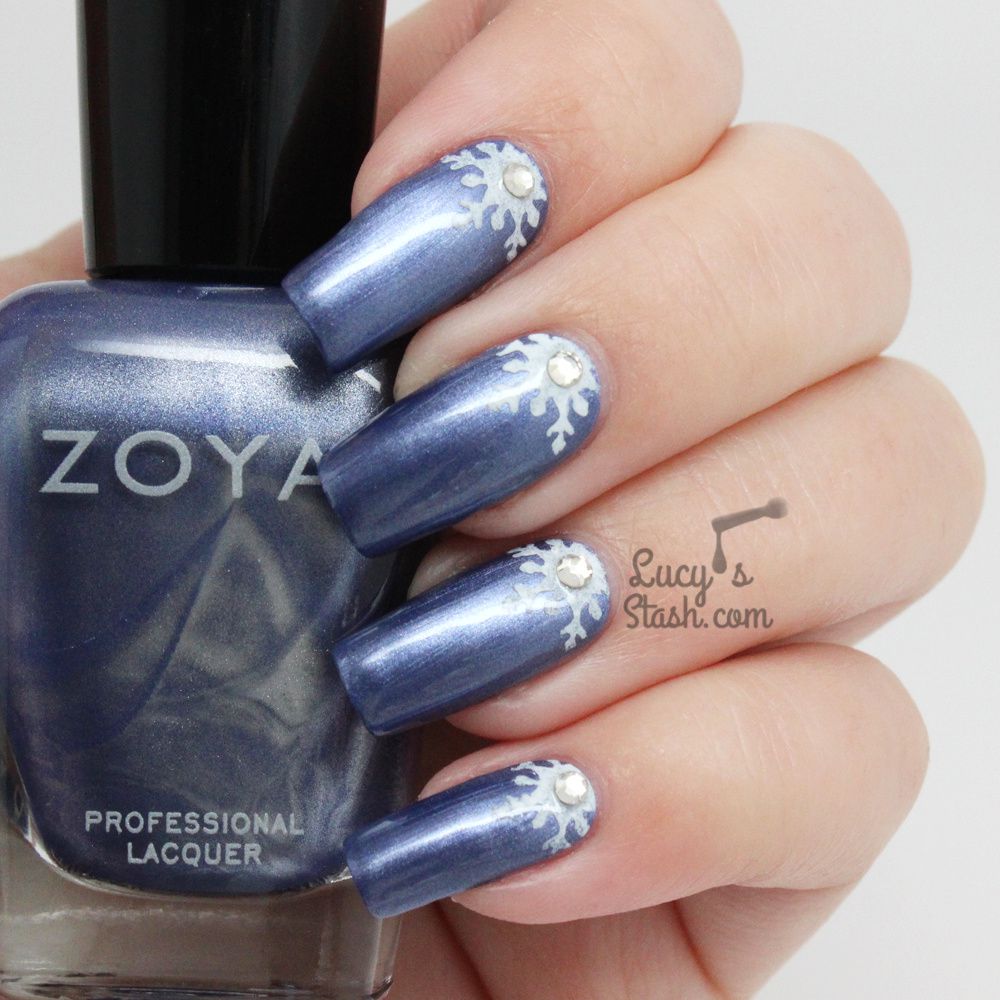


/image%2F0703241%2F20201222%2Fob_7b3a98_semilac-my-love-gel-polish-nails-4.jpg) My Snowflake Nails for Christmas 2020 with Semilac...
My Snowflake Nails for Christmas 2020 with Semilac.../image%2F0703241%2F20200814%2Fob_22ce10_lart-supreme-kit-29-2.jpg) REVIEW: LART Supreme Mineral Powder Dipping System...
REVIEW: LART Supreme Mineral Powder Dipping System.../image%2F0703241%2F20170429%2Fob_799087_gilded-marbled-amethyst-nails-6.jpg) Dress your nails to impress with this marbled amethyst...
Dress your nails to impress with this marbled amethyst.../image%2F0703241%2F20170727%2Fob_3240b9_pink-gold-dry-brush-nail-art-4.jpg) The Manicure That (I) Rocked The Scratch Stars Awards...
The Manicure That (I) Rocked The Scratch Stars Awards...