/image%2F0703241%2F20140120%2Fob_b8b3b5_blog-header-new2.jpg "nail art - reviews - swatches - nail tutorials")
Hello lovelies,
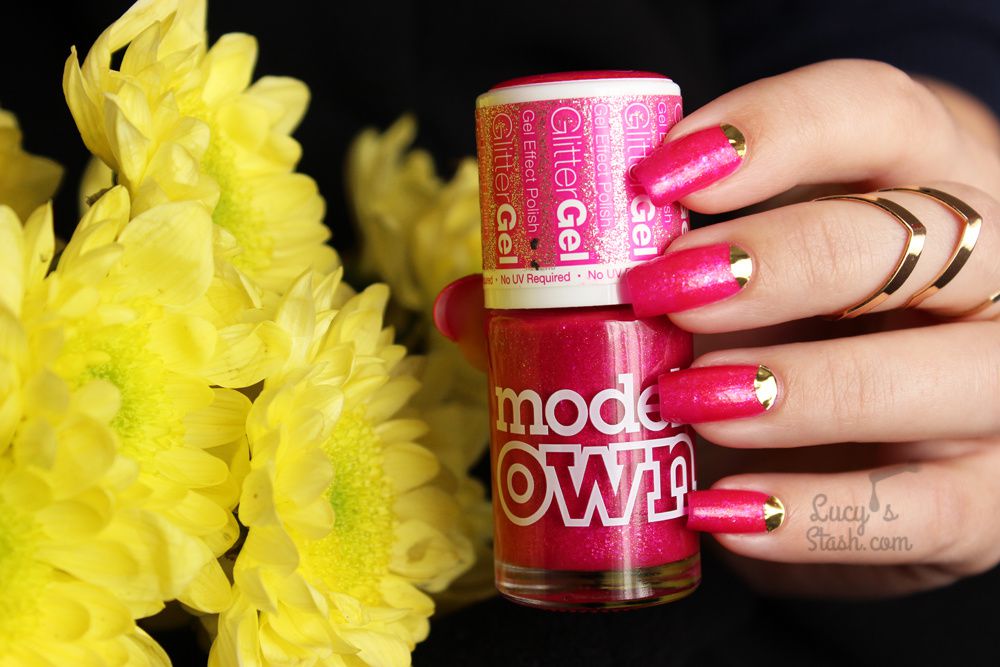
Today I want to show you a gel polish manicure that I wore on my 2-week holiday in August. I've opted for a gel polish again so that I wouldn't have to worry about my nails for the whole time. You know how it is - nail polish chips in a week if you're lucky and with no time to re-paint your nails you walk around ashamed of chipped nail polish :D I was still in process of growing and shaping my nails so I know the nail shape isn't perfect.
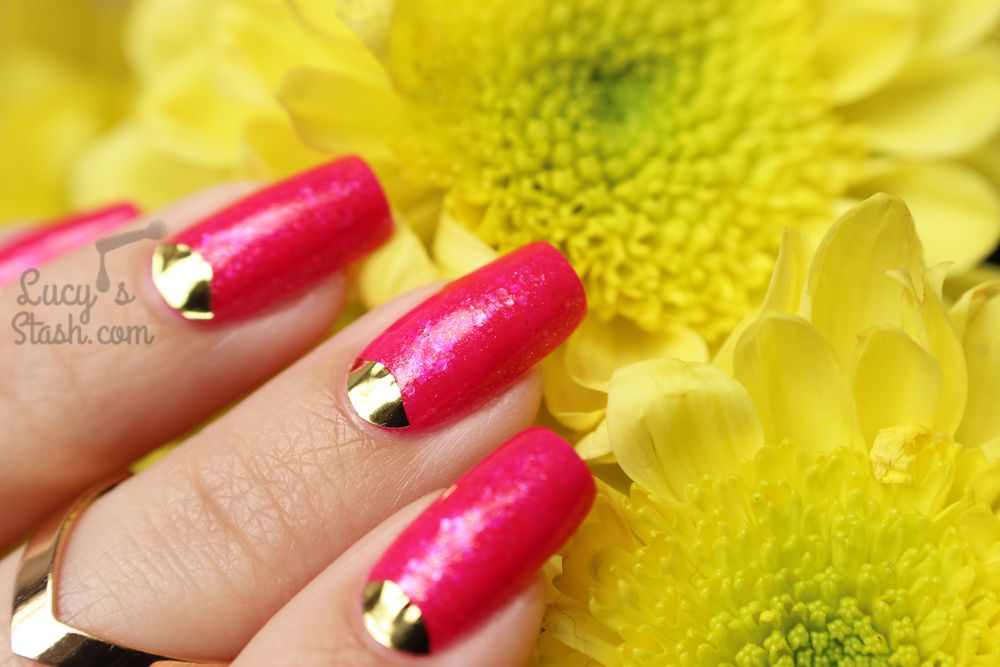
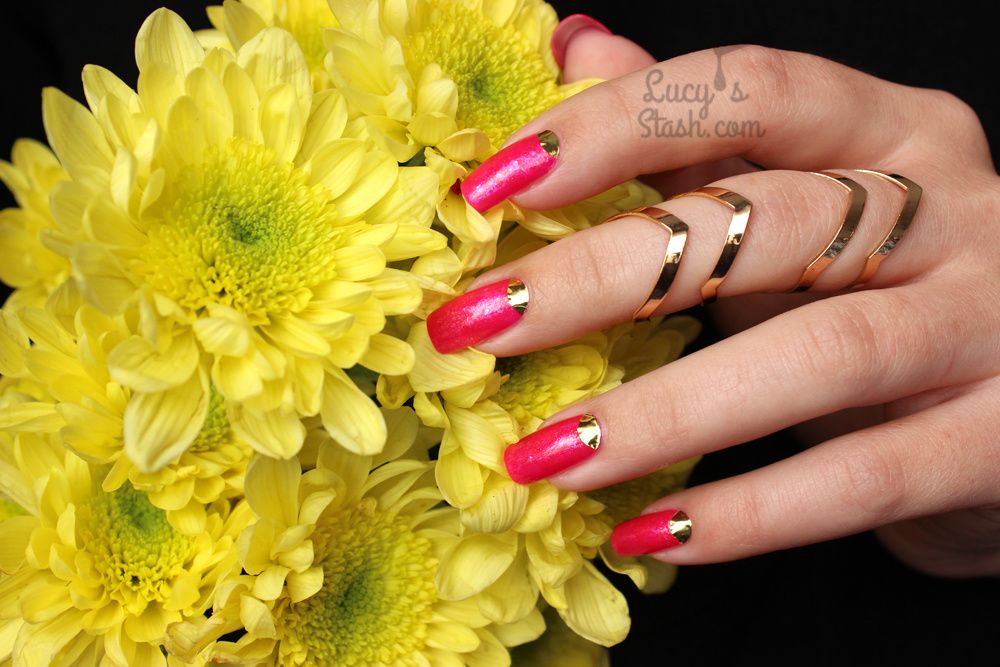
I opted for bright neon nails with vertical colour gradient and fine mermaid glitter gradient over the top. This is the finished result:


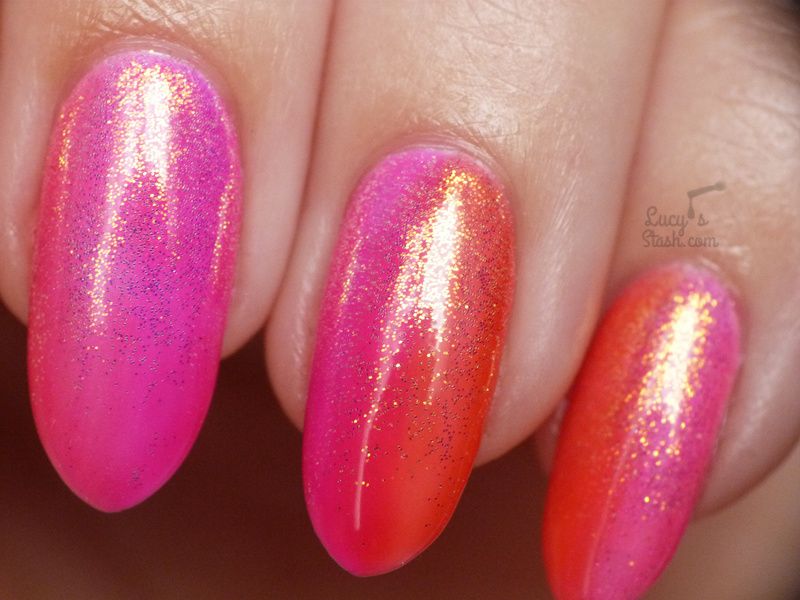

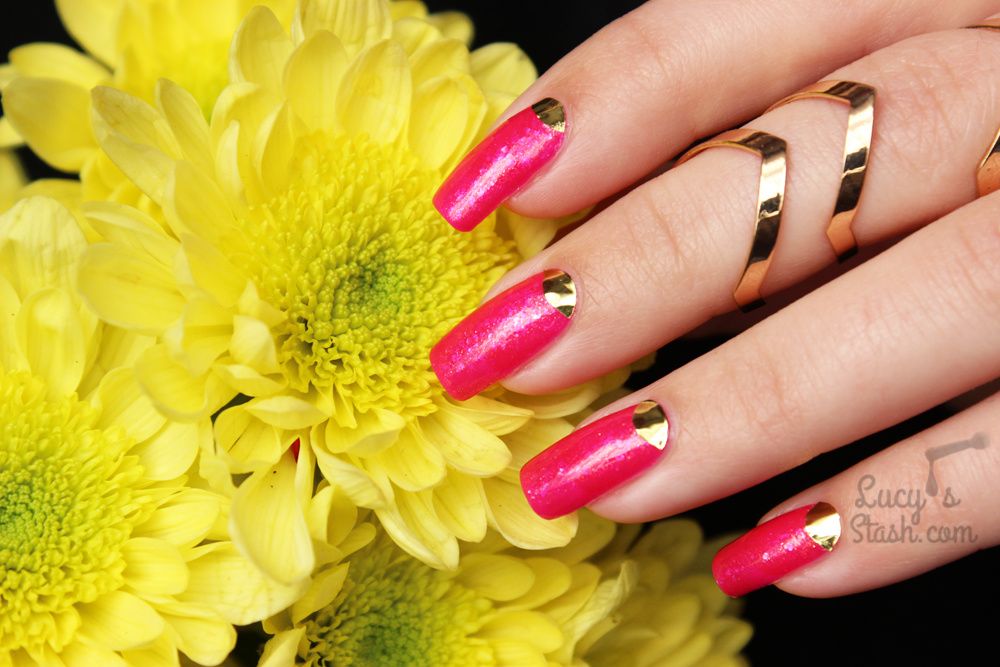
So how I did these nails? I've done the regular nail prep including cuticle removal, wiping nails with alcohol, applying a gel bonder and Color Club Foundation+Primer Gel Base Coat. Then I've applied a coat of Color Club French Tip, a white creme gel polish. It's always a good idea to apply neon colours over white as it helps them get brighter. Next step was to create the vertical gradient. For this I've used three IBD gel polishes in Head-to-Toe Gelato, Parisol and Ingénue.
I've painted each half of the nail with different colour and blended it with the brush in the bottle. It's not ideal but it worked just fine. I wasn't after a perfect gradient so using a brush straight from the bottle was okay. Besides, it's not very easy to do a gradient with gel polish (thicker gels are better) and a brush. Once I was done with the gradient and cured the nails, I've applied Indigo Nails Mermaid Effect glitter with a fluffy brush. I didn't put the glitter on whole nail but as a gradient so it looks like the glitter fals down the nail. Lastly, I've sealed the nails with Color Club Seal+Shine Top Coat. The nail lamp I've used for this was Melody Susie LED Violetili lamp because I don't have Clor Club nor IBD lamp.


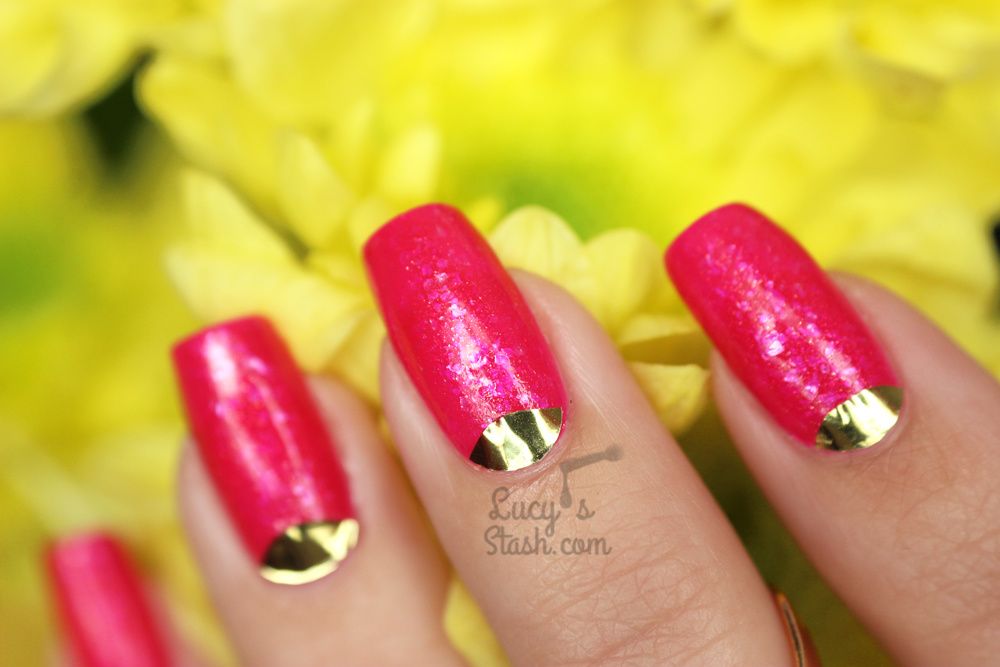
And this is how my manicure looked after more than two weeks...
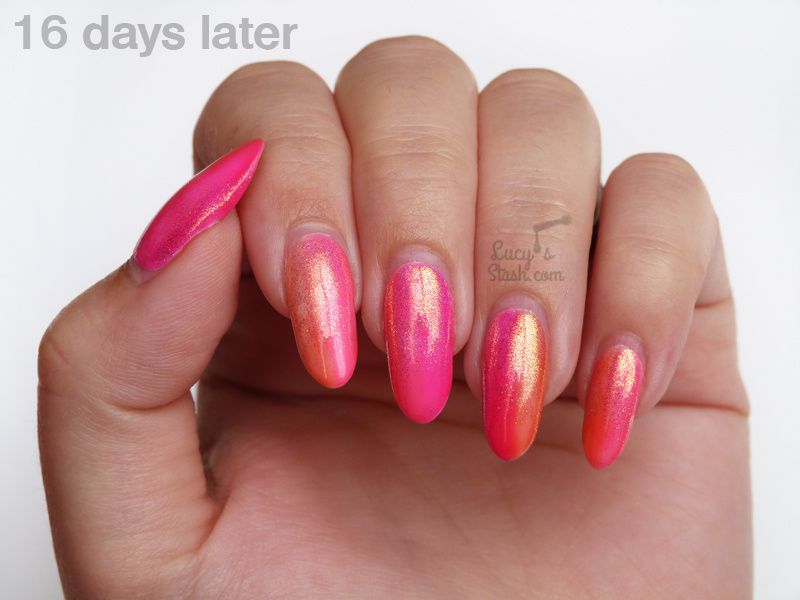
I was very pleasantly surprised that the gel manicure lasted perfectly like this considering I was combining products from different brands. The removal was a bit of a pain because the longer you wear gel and gel polish, the harder it gets. But I managed and now I'm back to regular nail polish!
So what do you think of this simple yet fun nail art? Would you wear it? Let me know in the comments ;)
Have a lovely day! Lucie x
/image%2F0703241%2F20201222%2Fob_7b3a98_semilac-my-love-gel-polish-nails-4.jpg) My Snowflake Nails for Christmas 2020 with Semilac...
My Snowflake Nails for Christmas 2020 with Semilac.../image%2F0703241%2F20200814%2Fob_22ce10_lart-supreme-kit-29-2.jpg) REVIEW: LART Supreme Mineral Powder Dipping System...
REVIEW: LART Supreme Mineral Powder Dipping System.../image%2F0703241%2F20170429%2Fob_799087_gilded-marbled-amethyst-nails-6.jpg) Dress your nails to impress with this marbled amethyst...
Dress your nails to impress with this marbled amethyst.../image%2F0703241%2F20170727%2Fob_3240b9_pink-gold-dry-brush-nail-art-4.jpg) The Manicure That (I) Rocked The Scratch Stars Awards...
The Manicure That (I) Rocked The Scratch Stars Awards...